
Understanding Your Electric Scooter Battery: The Basics
Imagine this: you're ready to take your electric scooter for a spin, but it's not powering up. The culprit? A faulty battery. Understanding your electric scooter battery is the first step towards a successful electric scooter battery replacement. This comprehensive guide will walk you through the basics, helping you become a pro at how to change scooter battery yourself.
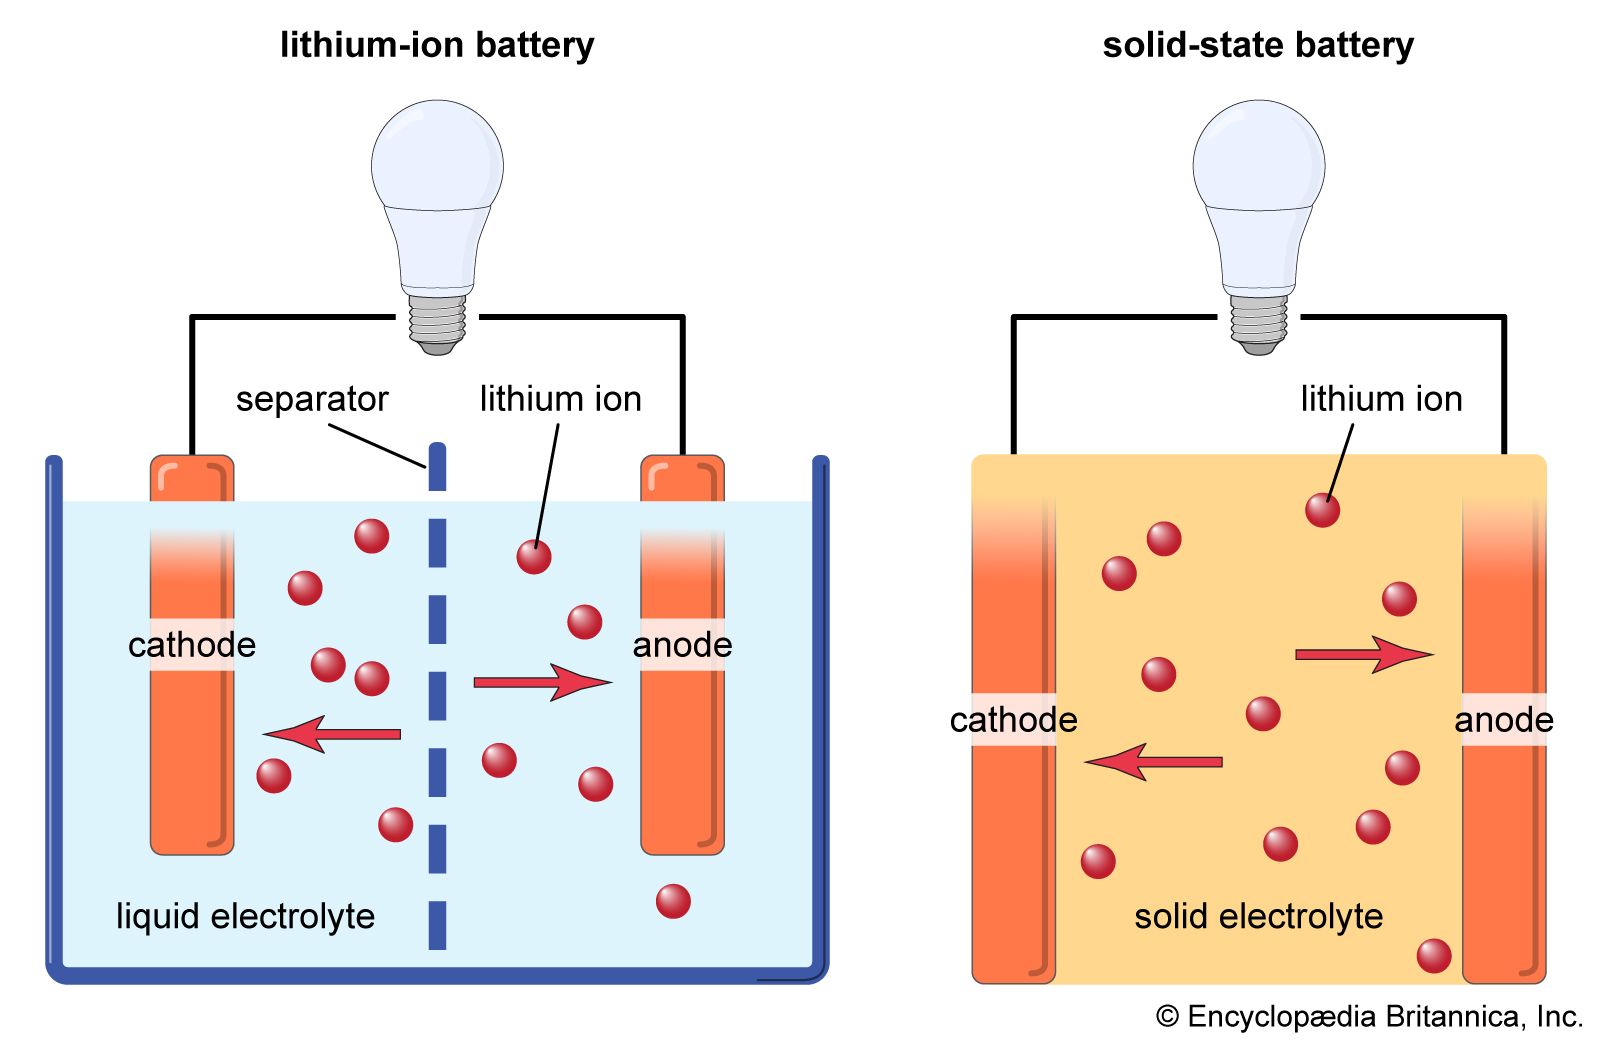
Electric scooter batteries are the heartbeat of your ride, supplying the necessary power to keep you moving. They come in different types, with the most common being lead-acid, lithium-ion, and nickel-cadmium. Each type has its unique characteristics, lifespan, and maintenance requirements. Knowing the type of battery your scooter uses is crucial for a successful DIY electric scooter battery replacement.
But how do you know when it's time for a battery change? And what's the best way to go about it? We've got you covered. This guide will not only teach you how to replace battery in razor scooter and other models but also provide essential tips for extending electric scooter battery life and maintaining electric scooter batteries.
From recognizing the signs that your battery needs replacement to choosing the right battery for your scooter, we'll guide you every step of the way. So, are you ready to dive into the world of scooter battery replacement? Let's get started!
Signs That Your Electric Scooter Battery Needs Replacement
Spotting the signs that your electric scooter battery needs replacement is a crucial skill for any scooter owner. Just like a heart that skips a beat, a failing battery can cause your scooter to stutter, stall, or refuse to start. So, what are the tell-tale signs that it's time for a DIY electric scooter battery replacement?
Firstly, if your scooter is struggling to reach its top speed or if the power seems to drain away quickly, it's a clear indication that your battery is on its last legs. Similarly, if your scooter can't hold a charge for as long as it used to, it's a sign that your battery's health is declining.
Another sign to look out for is if your scooter's battery takes longer than usual to charge. A healthy battery should charge relatively quickly. If it's taking an age to reach full capacity, it's time to consider a how to change scooter battery guide.
Lastly, if you've been using the same battery for over a year and you're noticing a decline in performance, it might be time for a change. Most scooter batteries have a lifespan of around 12-18 months, depending on usage and maintenance. So, if you've been zipping around town for a year or more on the same battery, it's probably time to look into how to replace battery in razor scooter or whichever model you own.
Remember, timely battery replacement not only ensures a smooth ride but also extends the overall life of your scooter. So, keep an eye out for these signs and stay ahead of the game. After all, who wants to be left stranded with a dead scooter battery when you could be cruising the streets?
Choosing the Right Battery for Your Electric Scooter
Now that you've identified the signs of a failing battery, the next crucial step in your electric scooter battery replacement journey is selecting the right replacement battery. This step is not as simple as picking the shiniest option off the shelf; it requires careful consideration and a bit of knowledge about your scooter's specific needs.
Firstly, it's essential to know the voltage of your scooter's original battery. This information is usually found on the battery itself or in the scooter's manual. Choosing a battery with a different voltage can lead to poor performance or even damage your scooter. So, if you're wondering how to change scooter battery, start by matching the voltage.
Next, consider the battery's capacity, measured in Ampere-hours (Ah). A higher capacity means your scooter can run longer between charges. However, make sure the battery fits in your scooter's battery compartment. You don't want to end up with a battery that's too big for your scooter!
Lastly, pay attention to the battery type. Most electric scooters use either sealed lead-acid (SLA) or lithium-ion batteries. While SLA batteries are cheaper, they're also heavier and have a shorter lifespan. On the other hand, lithium-ion batteries are lighter, last longer, and charge faster, but they're more expensive. Your choice will depend on your budget, usage, and preference.
Remember, a well-chosen battery not only powers your scooter but also contributes to extending its life. So, whether you're learning how to replace battery in razor scooter or another model, invest time in choosing the right battery. After all, isn't it worth ensuring your scooter runs smoothly for many more rides?

DIY Electric Scooter Battery Replacement: A Step-by-Step Guide
Now that you've armed yourself with the knowledge of choosing the right battery for your electric scooter, let's dive into the heart of the matter - the DIY electric scooter battery replacement. This step-by-step guide will help you understand how to change scooter battery, ensuring a smooth and safe ride.
Before you start, gather all the necessary tools. You'll need a screwdriver, a pair of pliers, and of course, your new battery. Remember, safety first! Always disconnect your scooter from any power sources before you begin.
Start by removing the scooter's deck to access the battery compartment. This usually involves unscrewing a few bolts. Be careful not to lose any small parts! 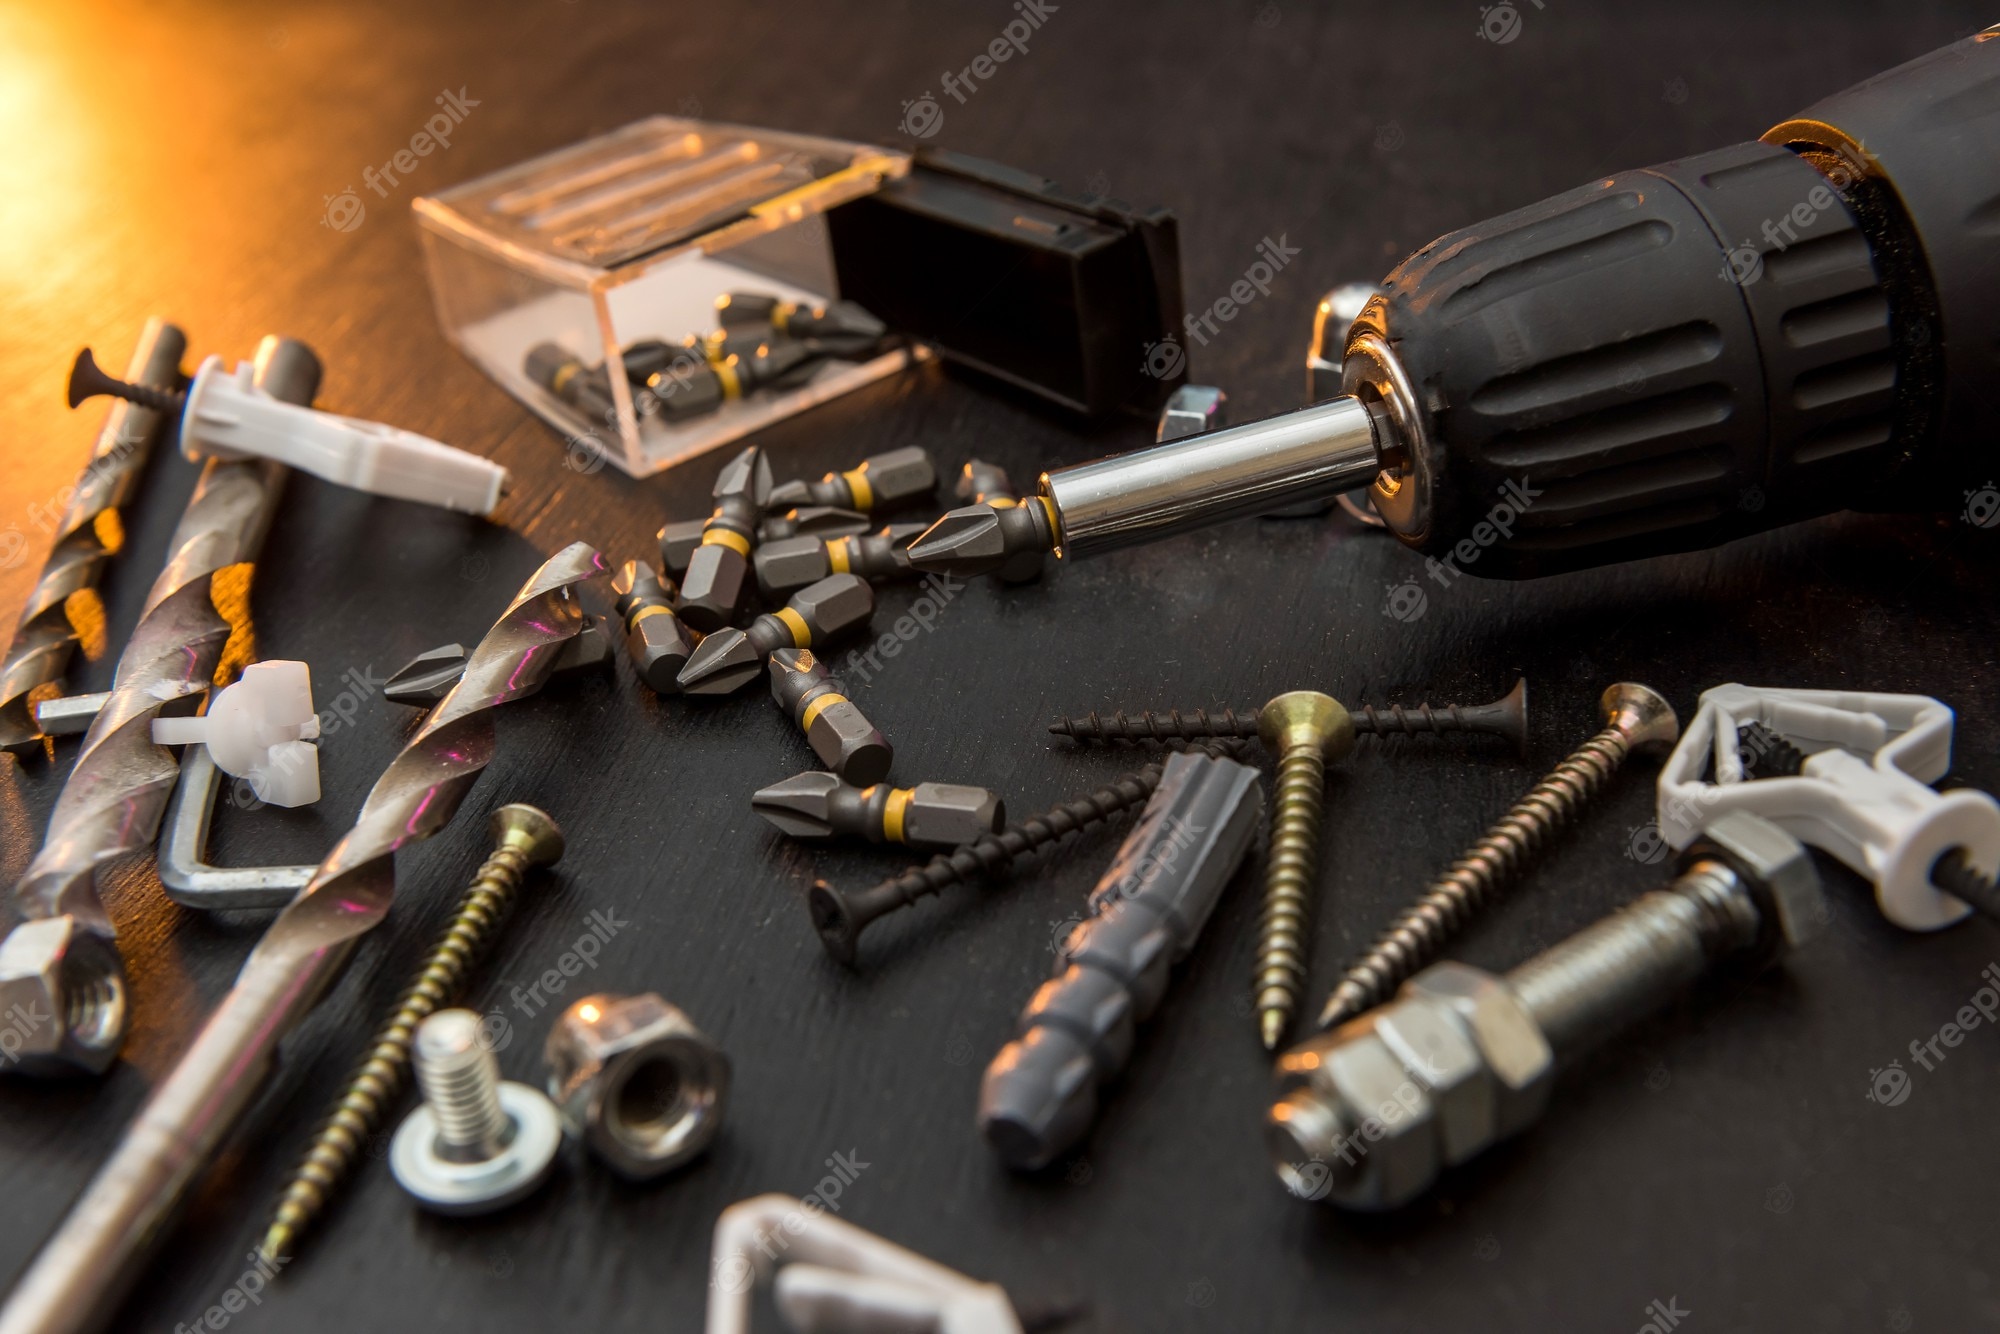
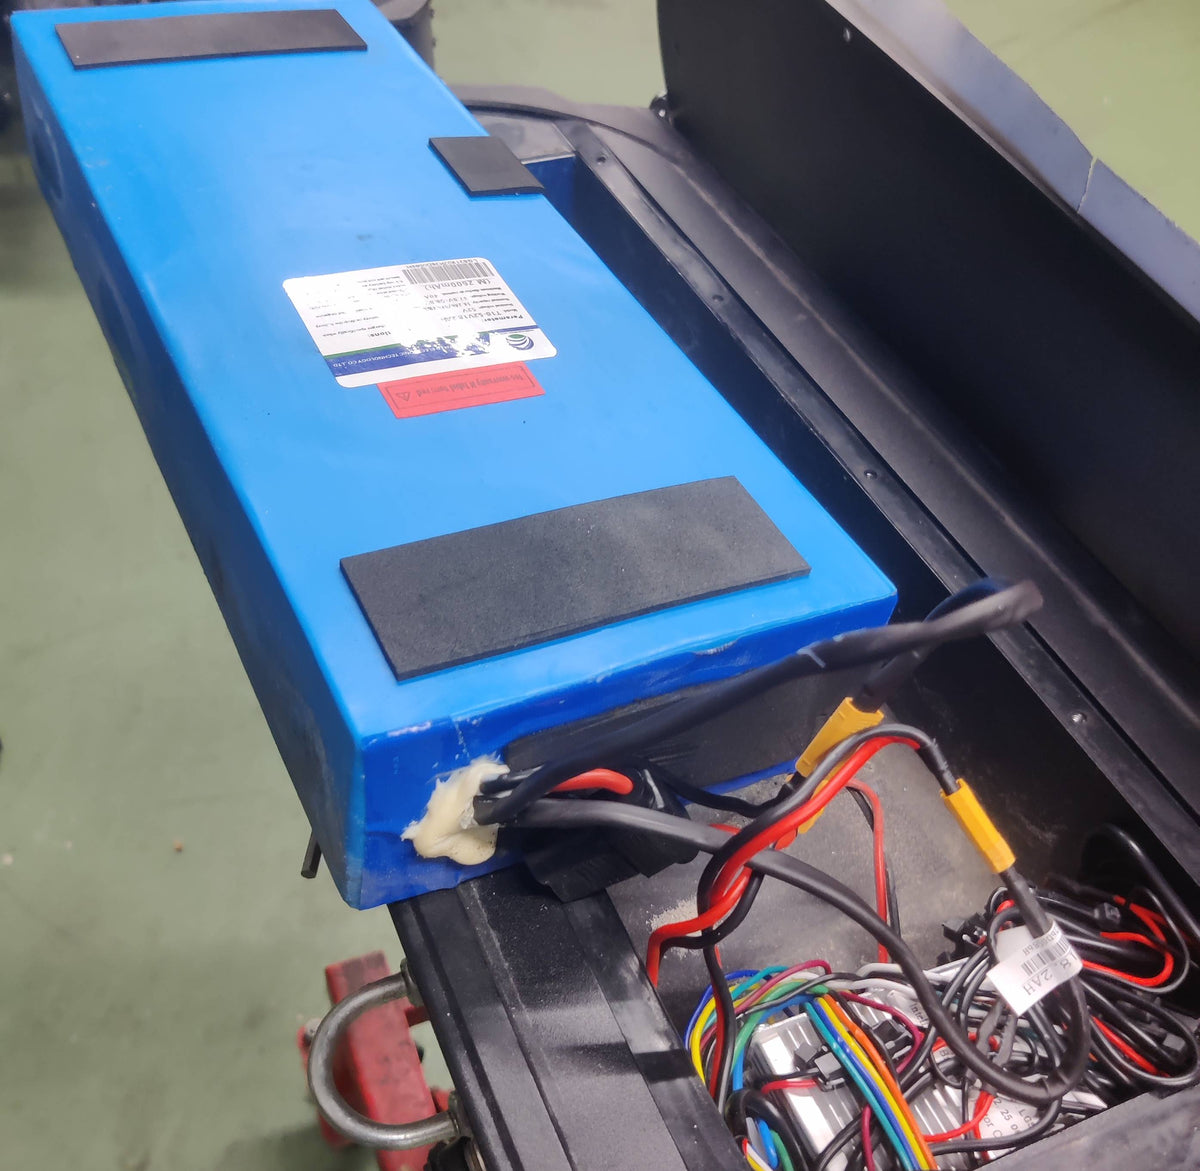
Once the deck is off, you'll see the battery. Note how it's connected to the scooter. You'll need to reconnect the new battery in the same way. Disconnect the old battery, being careful not to pull on the wires. Instead, use your pliers to grip the connectors.
Now, it's time to connect your new battery. Remember how the old battery was connected? Mirror that with the new one. Once connected, place the new battery in the compartment. Ensure it fits snugly and securely. If your scooter uses an SLA battery, make sure it's upright to prevent leaks.
Finally, replace the deck and screw it back into place. And voila! You've successfully completed your DIY electric scooter battery replacement.
But what if you own a Razor scooter? Is the process any different? Well, that's a story for another section. For now, give yourself a pat on the back. You've just learned how to replace scooter battery, a skill that will serve you well as you continue to enjoy your electric scooter rides.
Remember, a well-maintained scooter is a joy to ride. And part of that maintenance involves knowing when and how to replace your electric scooter battery. So, keep this guide handy. You never know when it might come in handy!
How to Replace Battery in Razor Scooter: A Special Case
Now, let's turn our attention to a unique case: how to replace the battery in a Razor scooter. Razor scooters, known for their sleek design and robust performance, have a slightly different battery replacement process. But don't worry, it's not rocket science. With a little patience and the right tools, you can easily handle this DIY electric scooter battery replacement.
First things first, gather your tools. For a Razor scooter, you'll need a Phillips screwdriver, a pair of needle-nose pliers, and of course, your new battery. Remember, safety is paramount. Ensure your scooter is disconnected from any power sources before you begin.
Start by flipping your Razor scooter upside down to access the battery compartment. You'll find it under the footplate, secured by a series of screws. Use your screwdriver to remove these screws and lift the footplate. Be careful not to misplace any of the screws, you'll need them later!
Once the footplate is off, you'll see the battery. It's usually encased in a protective cover. Remove this cover to reveal the battery connections. Pay close attention to how the battery is connected. You'll need to replicate this with your new battery.
Using your needle-nose pliers, disconnect the old battery. Be gentle, you don't want to damage the connectors. Now, connect your new battery, mirroring the connection of the old one. Once connected, place the new battery in the compartment and replace the protective cover.
Finally, replace the footplate and secure it with the screws you removed earlier. And there you have it! You've successfully learned how to replace the battery in a Razor scooter. Quite a feat, isn't it?
Remember, maintaining your electric scooter's battery is key to its performance and longevity. By knowing how to replace your scooter's battery, you're not just extending your scooter's life, but also ensuring many more joyful rides. So, keep this guide handy and ride on!
Extending Your Electric Scooter Battery Life: Essential Tips
Now that you've mastered the art of DIY electric scooter battery replacement, let's delve into the realm of battery longevity. After all, wouldn't it be great to extend the life of your electric scooter battery, saving both time and money?
First and foremost, it's crucial to understand that the lifespan of your electric scooter battery largely depends on how you treat it. Yes, you've heard it right! Your habits can significantly impact the life of your battery. So, what can you do to ensure your battery lives a long and healthy life?
One of the most effective ways to extend your electric scooter battery life is to maintain a moderate charging routine. It might seem logical to charge your scooter after every ride, but this can actually shorten your battery's lifespan. Instead, aim to charge your scooter when its battery level drops to around 20-30%. This approach, known as shallow discharging, can help your battery last longer.
Another tip to consider is to avoid exposing your scooter to extreme temperatures. Both hot and cold conditions can harm your battery, reducing its efficiency and lifespan. So, try to store your scooter in a cool, dry place when not in use.
Lastly, remember to give your scooter a break. Just like us, batteries also need rest. If you're not planning to use your scooter for a while, don't leave it fully charged. Instead, charge it to around 50% and disconnect it from the charger. This can help prevent battery degradation.
By following these simple yet effective tips, you can significantly extend the life of your electric scooter battery. Remember, a little care goes a long way in maintaining electric scooter batteries. So, treat your battery right, and it will return the favor with a longer, more efficient life.
Stay tuned for our next section where we'll delve deeper into the art of maintaining electric scooter batteries, ensuring they stay in top shape for years to come.
Maintaining Electric Scooter Batteries: Ensuring Longevity
As we embark on the final leg of our journey, let's delve deeper into the art of maintaining electric scooter batteries. This knowledge is not just about extending the life of your battery, but also about ensuring its optimal performance over time. Remember, a well-maintained battery is a happy battery, and a happy battery means a smoother, more efficient ride for you.
Have you ever wondered why your electric scooter battery doesn't seem to hold a charge as well as it used to? This could be due to a lack of regular maintenance. Just like a car needs its oil changed, your scooter battery needs regular check-ups too. Regularly inspecting your battery for any signs of damage or wear and tear can help you spot potential issues before they become major problems.
Another key aspect of maintaining electric scooter batteries is keeping them clean. Dust, dirt, and grime can build up over time and interfere with the battery's connections, leading to decreased performance. A simple wipe down with a dry cloth can do wonders for your battery's health.
Remember our discussion about the importance of a moderate charging routine? Well, it's worth mentioning again. Consistent, shallow discharging is one of the best ways to ensure your battery's longevity. So, resist the urge to plug in your scooter after every short ride. Instead, wait until the battery level drops to around 20-30% before charging it. This simple habit can make a significant difference in your battery's lifespan.
Lastly, don't forget about the importance of proper storage. Extreme temperatures can be a battery's worst enemy, so aim to store your scooter in a cool, dry place whenever possible. And if you're not planning to use your scooter for a while, remember to charge it to around 50% and disconnect it from the charger. This can help prevent battery degradation and ensure your battery is ready to go when you are.
By incorporating these tips into your routine, you can significantly extend the life of your electric scooter battery and ensure it remains in top shape for years to come. So, are you ready to give your battery the care it deserves? Remember, a little effort now can save you a lot of time and money in the long run. So, let's get started on this journey of maintaining electric scooter batteries together!

No comments yet. Be the first to share your thoughts!