
Identify your GEM battery type
GEM electric vehicles primarily use three battery chemistries: flooded lead-acid, absorbed glass mat (AGM), and lithium-ion. Your maintenance routine depends entirely on which type is installed. Using the wrong charger or ignoring the specific needs of your battery can lead to premature failure or voided warranties.
Flooded Lead-Acid
This is the traditional option found in older GEM models. These batteries consist of six 6-volt cells connected in series. They require regular maintenance, including topping off the water levels in each cell with distilled water and cleaning corrosion from the terminals. They are the most affordable but have the shortest lifespan, typically lasting 18 to 24 months with proper care.
AGM (Absorbed Glass Mat)
AGM batteries are a sealed lead-acid variant. They are spill-proof and maintenance-free, meaning you never need to check water levels. They offer better vibration resistance and slightly longer life than flooded batteries. However, they are more expensive and require a specific charging profile to avoid overheating.
Lithium-Ion
GEM now offers factory-installed lithium-ion options for newer models. These batteries are significantly lighter, charge faster, and last much longer than lead-acid types. They require a dedicated lithium-compatible charger. Using a standard lead-acid charger on a lithium battery can cause damage or safety hazards.
| Battery Type | Maintenance | Typical Voltage | Charger Requirement |
|---|---|---|---|
| Flooded Lead-Acid | Add distilled water | 6V (x6 in series) | Standard lead-acid charger |
| AGM | None (sealed) | 6V or 12V | AGM-specific charger |
| Lithium-Ion | None (sealed) | 48V or 72V pack | Lithium-compatible charger |
Charge your GEM battery correctly
The most common cause of premature GEM battery failure is improper charging. Overcharging or allowing the battery to sit in a deep discharge state can permanently damage the cells. Follow this strict protocol to maintain battery health and ensure reliable performance.
Park the GEM vehicle in a well-ventilated area, away from direct sunlight or extreme temperatures. Ensure the vehicle is turned off and the key is removed before connecting any charging equipment. This prevents electrical surges and ensures safety during the process.
Locate the charging port on your GEM vehicle. Plug the charger’s vehicle-side connector firmly into the port until it clicks or seats fully. A loose connection can cause arcing or inefficient charging. Verify that the connection is secure before proceeding to the power source.
Connect the other end of the charger to a standard, grounded 120V household outlet. Avoid using extension cords if possible, as they can introduce resistance and heat. If an extension cord is necessary, use a heavy-duty outdoor-rated cord with sufficient gauge to handle the current.
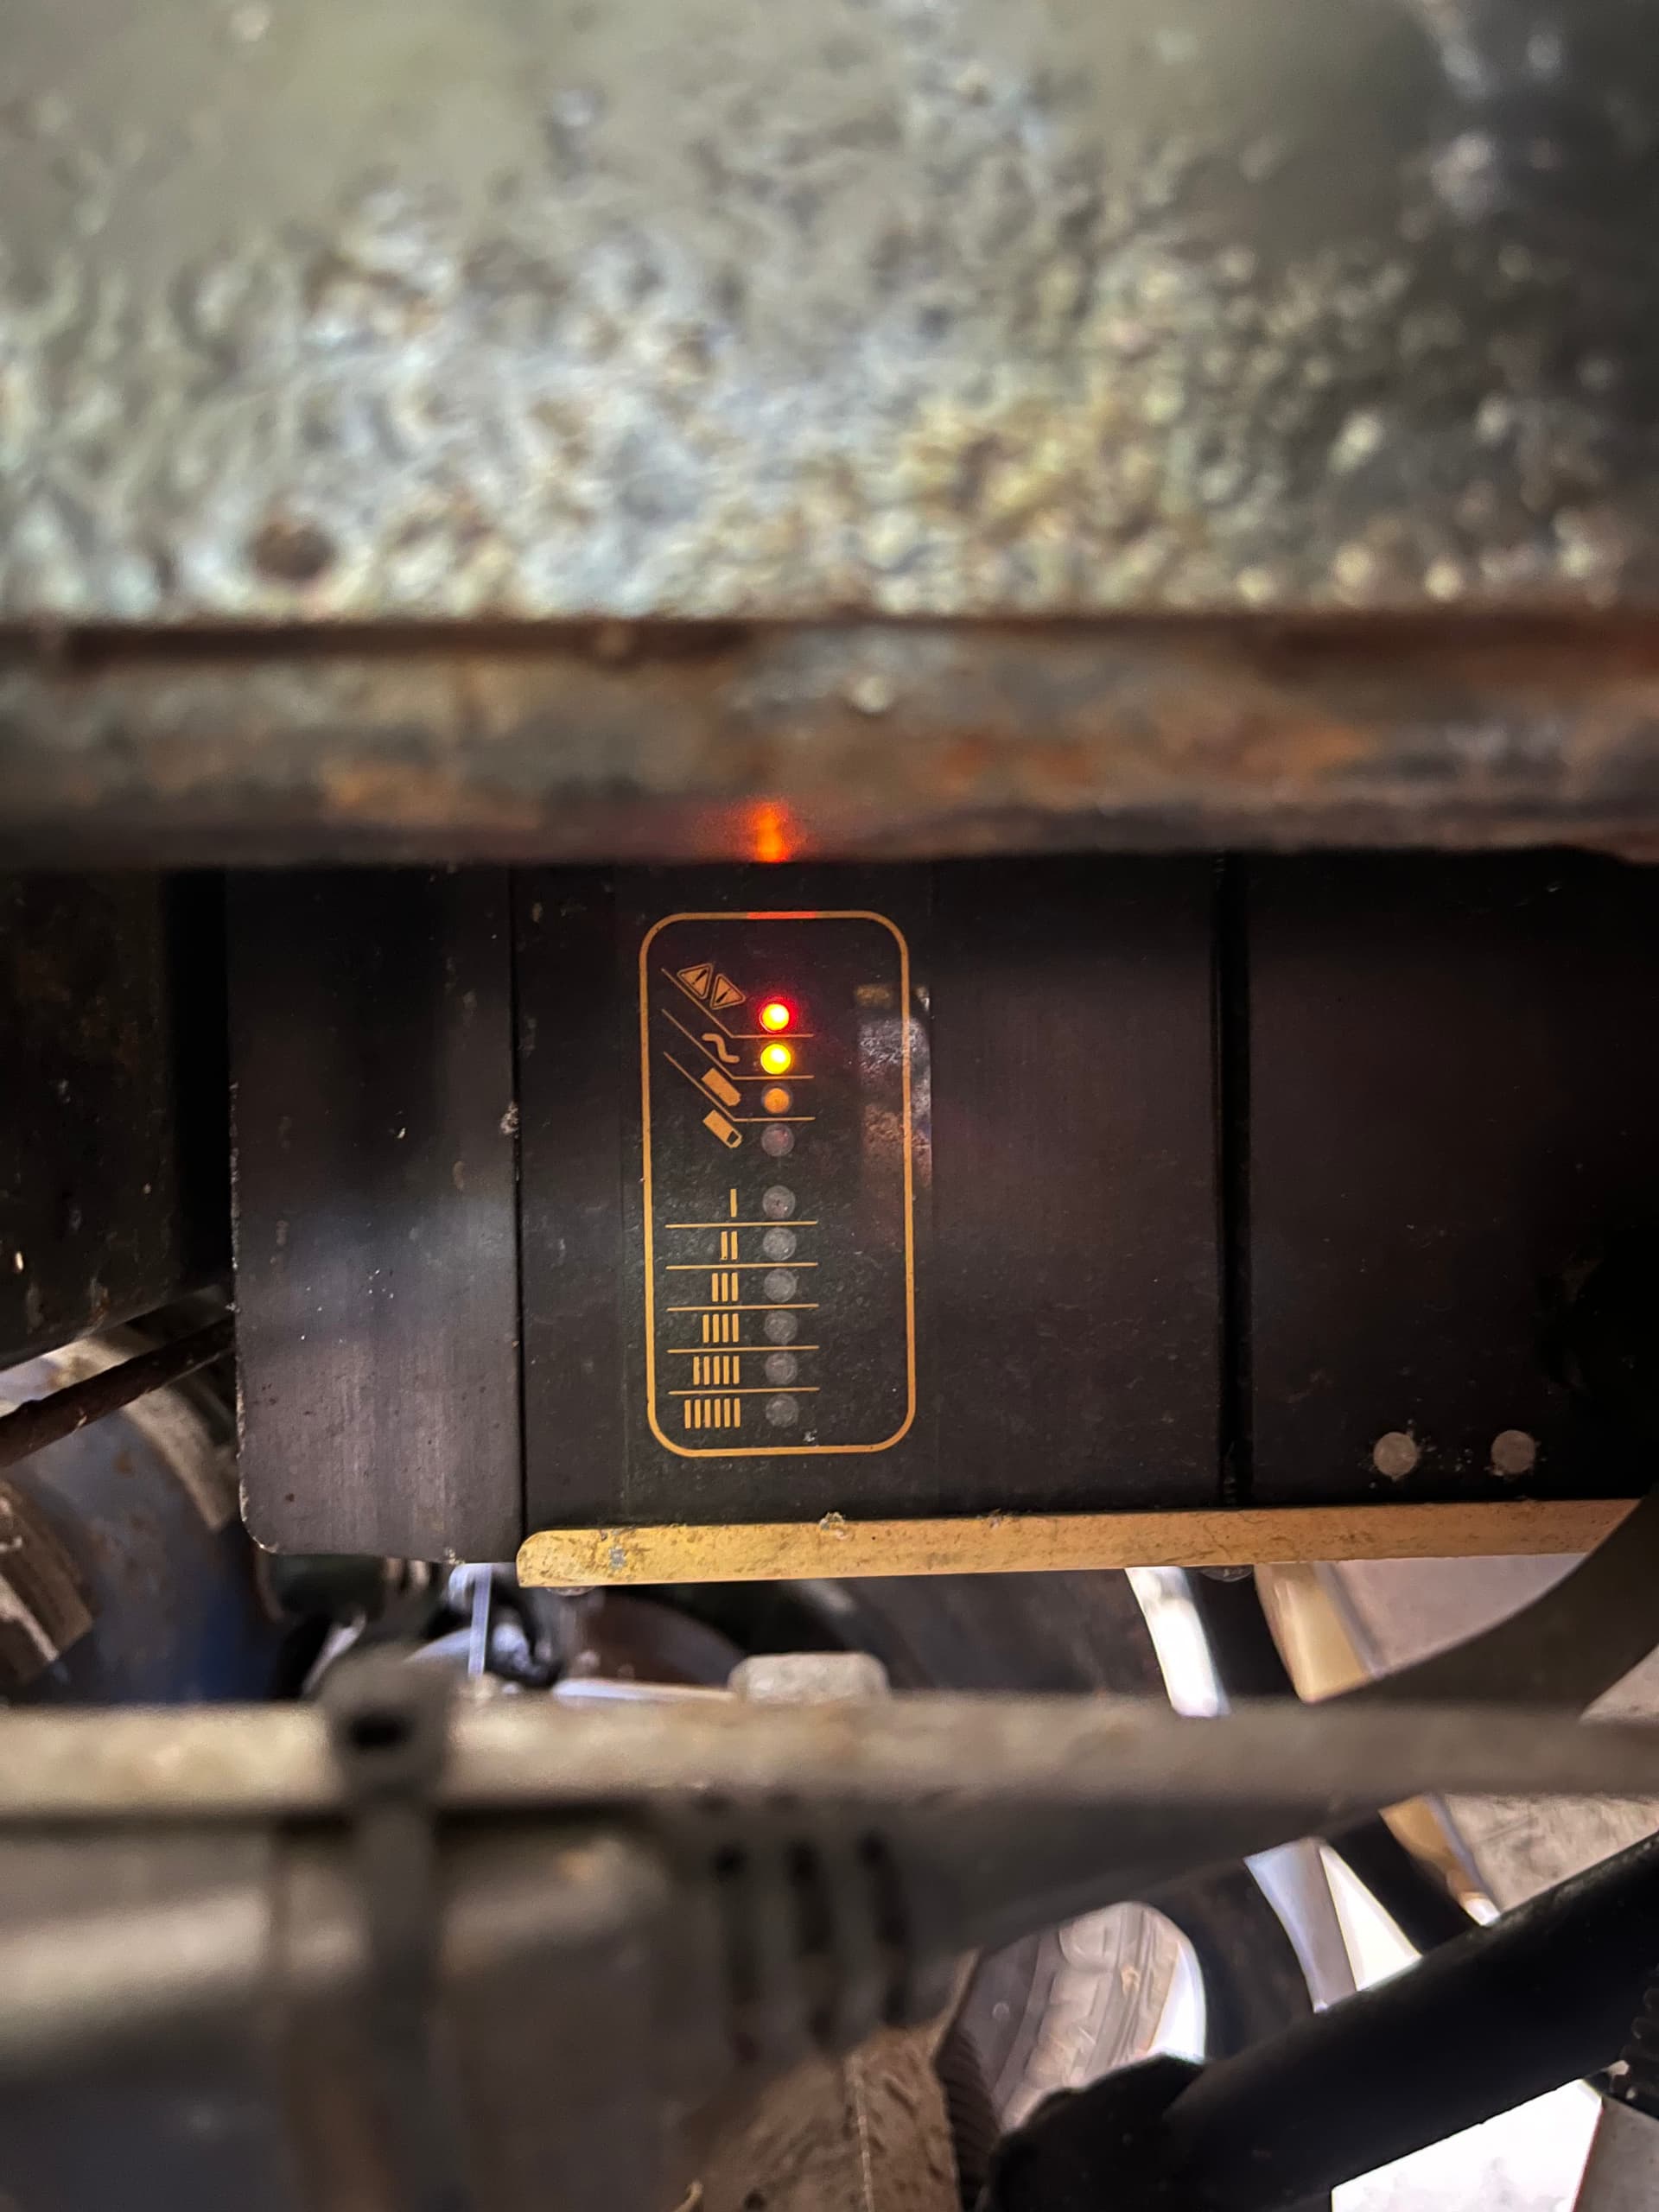
Observe the charger’s indicator lights. A red light typically indicates charging, while green indicates a full charge. Do not leave the battery charging unattended for extended periods, especially if the charger lacks an automatic shut-off feature. Overcharging can generate excessive heat and damage the battery cells.
Once the charge is complete (indicated by a green light or manufacturer-specified time), unplug the charger from the wall outlet first. Then, disconnect the vehicle-side connector. Wipe the charging port and connector pins with a dry cloth to remove any dust or moisture before storing the charger.
Inspect and clean battery terminals
Corrosion acts like an insulator between your GEM car’s battery and its electrical system. This buildup restricts current flow, leading to voltage drops that make the cart feel sluggish or unresponsive. Regularly cleaning the terminals ensures optimal power transfer, which is essential for maintaining the vehicle's range and performance.
Start by putting on safety gear. Wear protective gloves and eye protection, as battery acid is corrosive. If your GEM uses flooded lead-acid batteries, ensure the caps are tight before cleaning to prevent spills. Always work in a well-ventilated area.
After reconnecting, test the cart to ensure it powers on normally. If the GEM still exhibits starting issues, the battery may be sulfated or failing, requiring professional testing or replacement. For maintenance schedules, consult your GEM operator’s manual, as flooded batteries like Trojan or Deka group 31 units may also require water level checks.
Store your GEM car properly
Proper off-season storage prevents the lead-acid batteries in your GEM car from self-discharging or sulfating. Follow these steps to prepare the vehicle for long-term parking.
Checklist
-
Terminals cleaned and tightened
-
Batteries charged to 100%
-
Negative cable disconnected
-
Vehicle stored in dry, cool area
Common GEM battery mistakes
Even with careful charging, small habits can shorten your GEM car battery life. Avoid these errors to keep your pack healthy and your warranty intact.
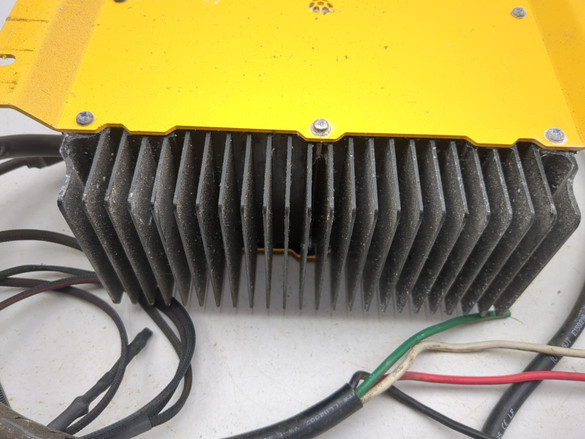
Using the wrong charger
GEM cars require a charger matched to their voltage and chemistry. Using a generic or mismatched charger can damage the cells or trigger a fault. Stick to the charger provided by GEM or an approved replacement. Lithium upgrades, such as replacing lead acid with 72V LiFePO4 packs, also need compatible charging profiles.
Ignoring water levels
If you have a lead-acid pack, electrolyte levels matter. Low water exposes plates to air, causing sulfation and permanent capacity loss. Check levels monthly and top up with distilled water only. Never add tap water, which introduces minerals that degrade performance. Lithium packs do not require water, but they still need terminal cleaning to prevent corrosion.
Leaving the battery in a deep discharge state
Driving the pack to zero and leaving it dead for days causes irreversible damage. Even when not in use, batteries self-discharge. Store your GEM car in a cool, dry place and check the voltage every 30 days. If the voltage drops below the manufacturer’s threshold, recharge immediately. This simple habit prevents the cell imbalance that often kills older packs.
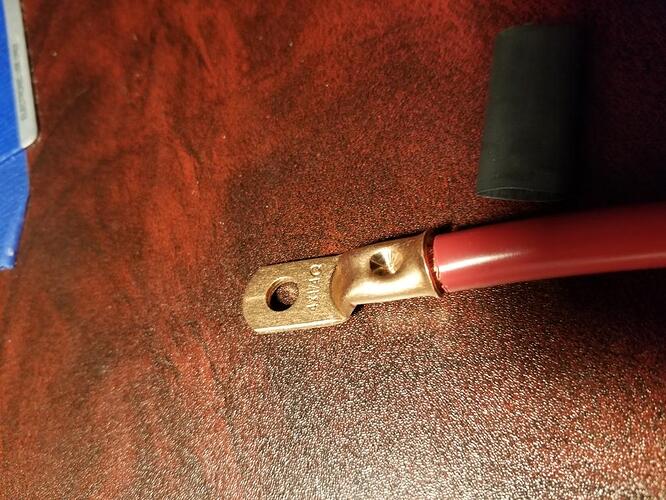
Overlooking loose connections
Vibration from rough terrain can loosen battery terminals over time. A loose connection creates resistance, which generates heat and reduces efficiency. Inspect cables and terminals regularly. Tighten any loose bolts and clean corrosion with a wire brush. Proper contact ensures your GEM car gets full power when you need it.
Common gem battery maintenance: what to check next
Addressing specific queries about legality and technology helps clarify how to maintain your vehicle properly.
Are GEM carts street legal?
GEM electric vehicles are designated as low-speed vehicles (LSVs), which makes them street legal in many jurisdictions. According to Polaris, the manufacturer, these vehicles are built to order in Anaheim, California, with factory-installed accessories tailored for neighborhood cruising. Always verify local regulations, as LSV laws vary by state and municipality.
What is the future of GEM battery technology?
While current GEM carts primarily use lead-acid or lithium-ion batteries, the industry is watching solid-state batteries closely. Often called the "holy grail" of energy storage, solid-state technology promises longer range, faster charging, and lower costs. However, these batteries remain an elusive dream for many automakers and are not yet standard in current GEM models.
Can I upgrade my GEM to lithium?
Yes, upgrading from lead-acid to lithium-ion is a common maintenance path. For example, the Vatrer 48V lithium battery is a known upgrade option for 2017 GEM cars. This swap involves removing the existing lead-acid batteries and installing the new lithium unit. Always consult a professional installer to ensure compatibility with your cart's charging system and wiring.
No comments yet. Be the first to share your thoughts!