
When to swap your battery
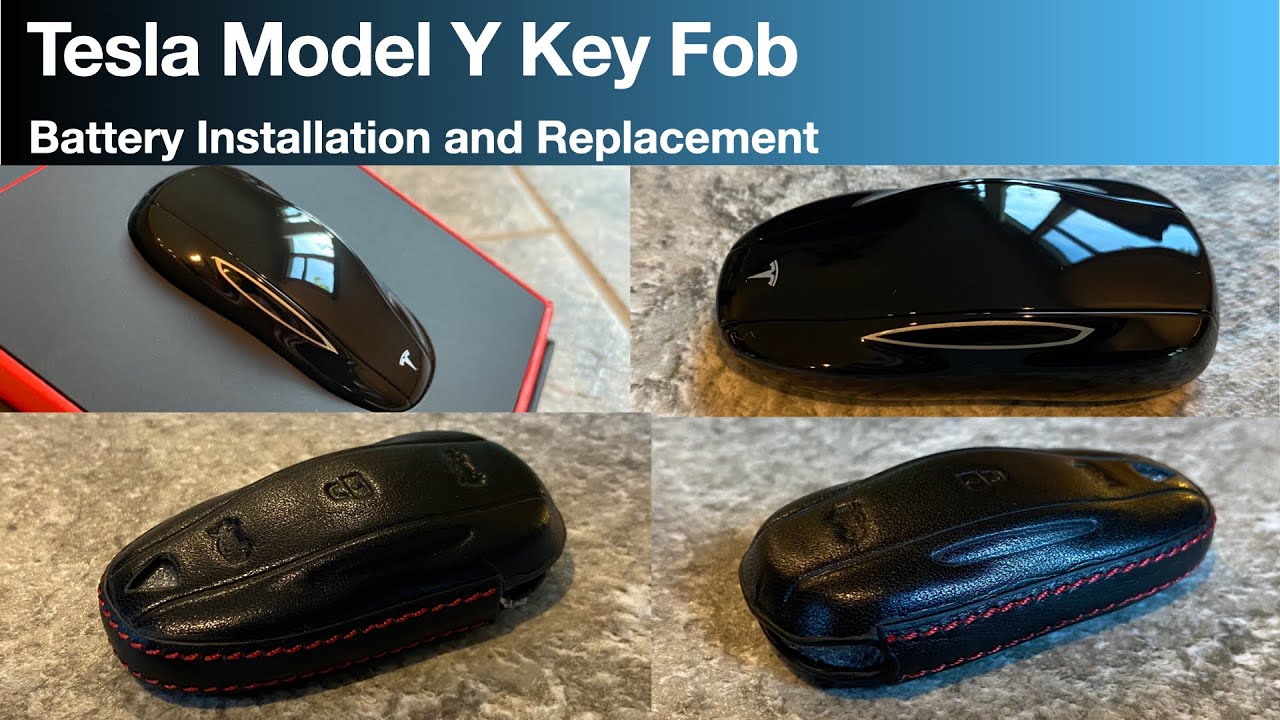
The 2026 Tesla Model Y key fob handles keyless entry and remote start. While most owners use the phone app, the physical fob is a reliable backup. Like any small electronic, the coin cell battery inside eventually dies.
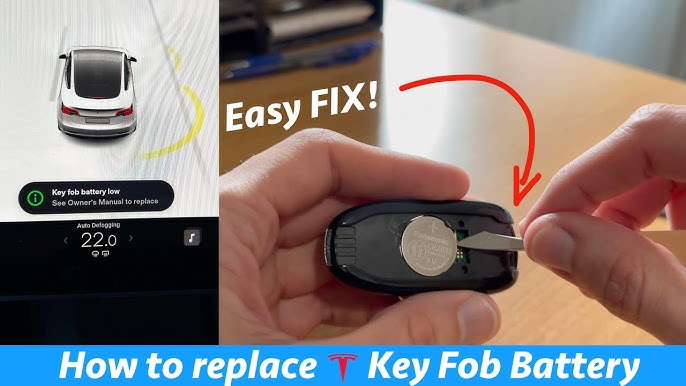
A dying key fob battery typically manifests as a weak signal, requiring you to get very close to the car for it to be recognized. You might also experience intermittent operation – sometimes it works, sometimes it doesn’t. This can be frustrating, especially when you're in a hurry. Recognizing these signs early can save you from being stranded.
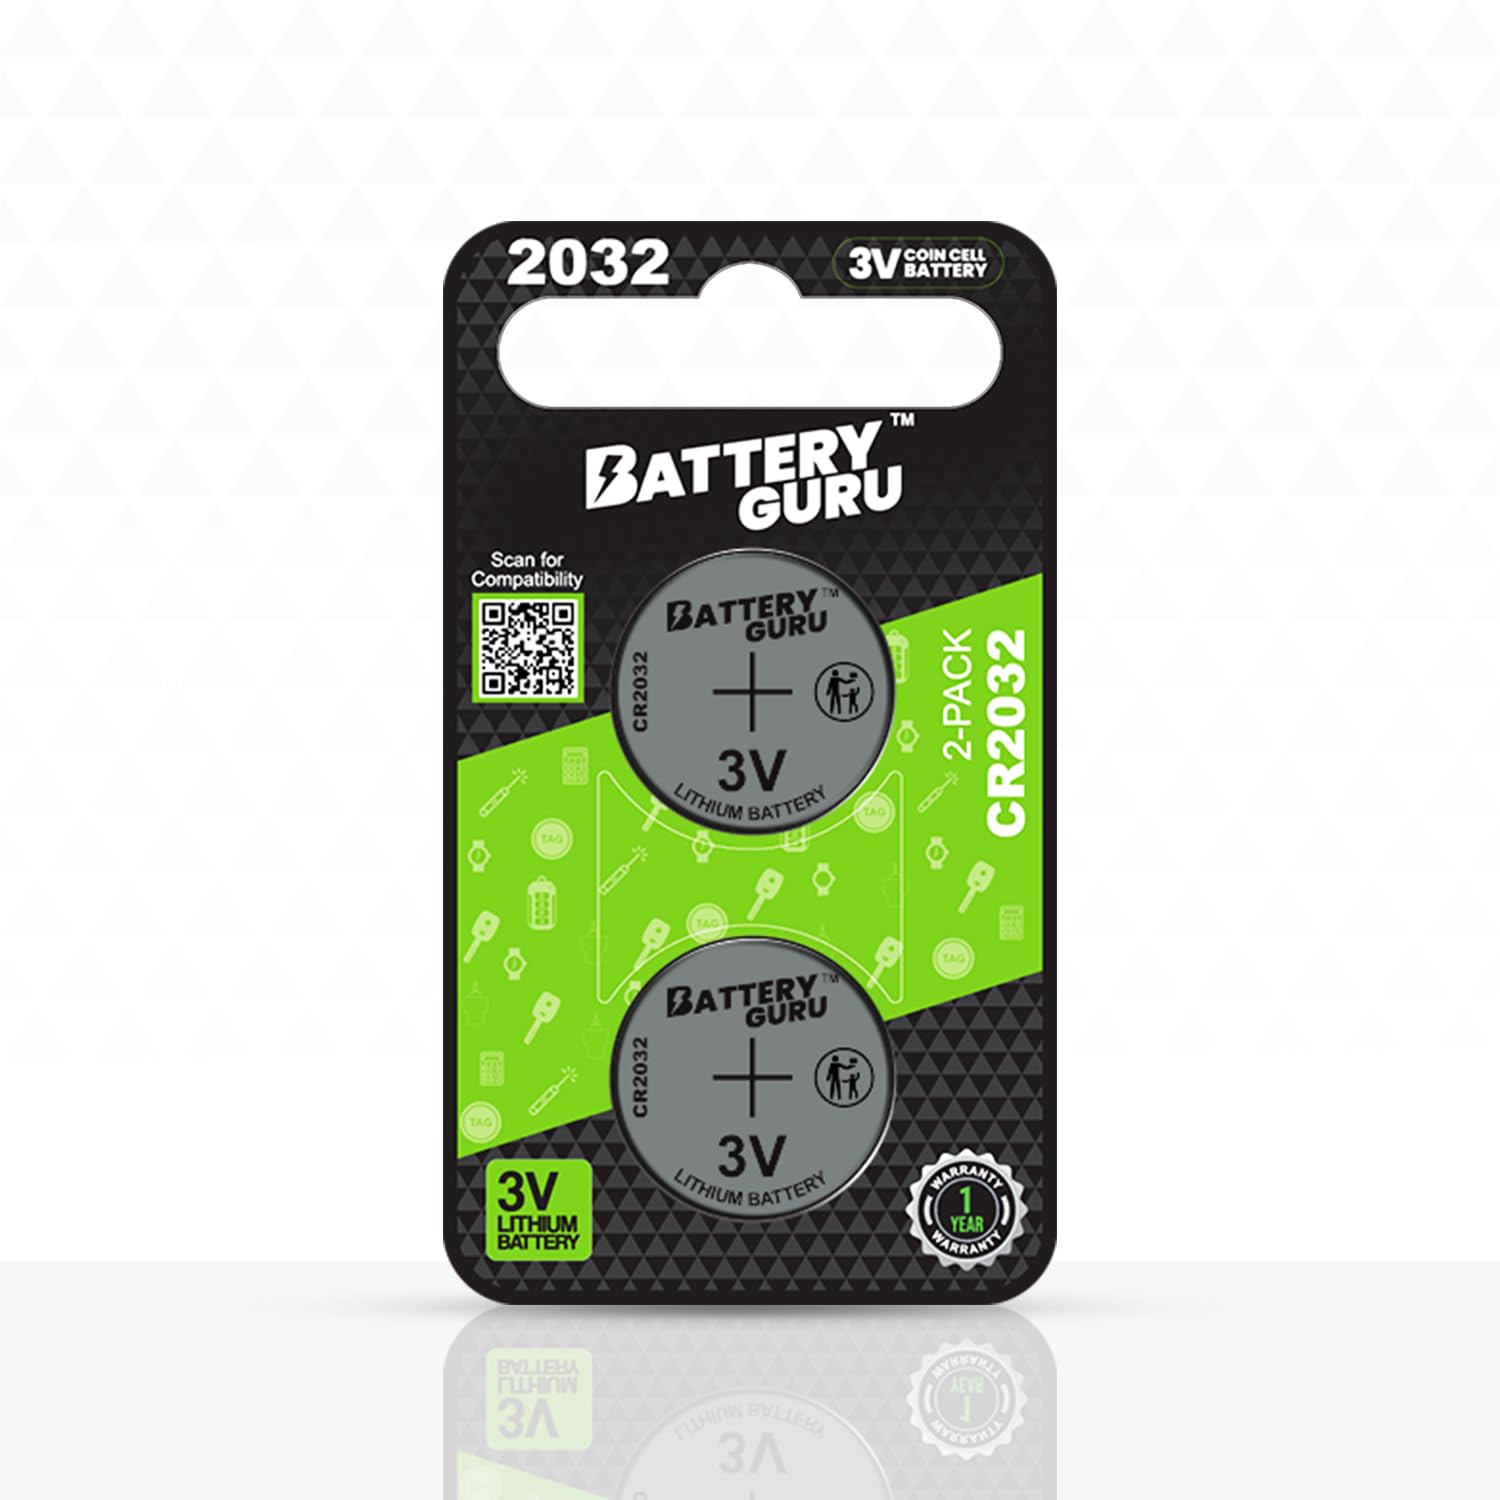
The 2026 Model Y uses a standard CR2032 battery. Based on previous years, you can expect about two years of life before the signal weakens. Replacing it takes about five minutes.
What you need
Fortunately, replacing the battery in your 2026 Model Y key fob doesn’t require a lot of specialized tools. The most important item is a new CR2032 battery. I've had good luck with Duracell and Panasonic batteries, but any reputable brand will work. A small flathead screwdriver is also essential for opening the fob casing.
I strongly recommend using plastic pry tools instead of a metal screwdriver whenever possible. Metal can easily scratch the plastic housing. A magnetic project mat is also a great investment. These mats prevent small screws from rolling away, which can be a real headache. Finally, a microfiber cloth is useful for cleaning the fob and preventing fingerprints.
- CR2032 battery
- Small flathead screwdriver (or plastic pry tool)
- Magnetic project mat (optional)
- Microfiber cloth (optional)
Tools & Parts Needed
- CR2032 Battery: The 2026 Tesla Model Y key fob requires a single CR2032 3V lithium coin cell battery.
- Small Flathead Screwdriver: Used to gently pry open the key fob casing. A precision screwdriver set is recommended.
- Plastic Opening Tool (Spudger): Helpful for separating the fob halves without causing damage. Metal tools can scratch or short circuit the electronics.
- Phillips Head Screwdriver: A small Phillips head screwdriver is needed to remove the battery retainer and potentially other internal components.
- Anti-Static Wrist Strap: While not strictly necessary, an anti-static strap helps prevent electrostatic discharge which could damage sensitive electronics.
- Soft Cloth: Useful for cleaning the key fob casing and preventing fingerprints.
- Small Container: To safely store the old CR2032 battery for proper disposal. Lithium batteries should *not* be thrown in regular trash.
Opening the fob
This is arguably the most delicate part of the process. Start by inspecting the key fob for any visible seams or slots. On most Tesla key fobs, the seam runs around the perimeter of the fob. Gently insert the flathead screwdriver or plastic pry tool into the seam. Avoid forcing it!
Work your way around the seam, carefully prying the two halves of the fob apart. You’ll likely encounter some resistance, which is normal. Apply steady, even pressure. If it feels like something is going to break, stop and reassess. Try a different insertion point or apply slightly more leverage, but be extremely cautious. It’s better to take your time than to damage the fob.
Once you've worked around the seam, the two halves should separate. If they stick, check the edges for any remaining plastic clips before pulling harder.
It's important to remember that every fob is a little different. Some may have a slightly tighter fit than others. If you’re having significant trouble, consult online videos specifically for Tesla key fob disassembly – searching for videos related to similar Tesla models can be helpful, even if they aren’t for the exact 2026 Model Y.
Removing the Old CR2032 Battery
Once the fob is open, you'll see the CR2032 battery. In some cases, the battery is held in place by a small retaining clip or plastic cover. If present, gently release the clip to free the battery. Take note of how the battery is oriented – the positive (+) side should be facing up. This is crucial for correct installation later.
Pop the old battery out. Try not to touch the metal contacts with your fingers, as skin oils can cause minor corrosion over time. Most hardware stores have a bin to recycle these properly.
Installing the New Battery
Now it’s time to install the new CR2032 battery. Again, pay close attention to the polarity. The positive (+) side of the battery must face up, matching the orientation of the old battery. Gently press the battery into its compartment, ensuring it’s securely seated. You should feel a slight click or resistance when it’s properly in place.
Double-check that the battery is making good contact with the terminals. If the fob doesn’t work after installation, this is the first thing to verify. A loose or improperly seated battery won’t provide power to the fob. Make sure the battery isn't bent or damaged in any way.
Reassembling and Testing
With the new battery installed, carefully reassemble the key fob casing. Align the two halves of the fob, ensuring all internal components are properly positioned. Gently press the halves together until they snap securely into place. You might need to apply a bit of pressure around the perimeter to ensure a tight seal.
Once reassembled, test the key fob to confirm it’s working correctly. Press each button to verify its functionality. If the fob doesn't work, try removing and reinstalling the battery, double-checking the polarity. In some cases, you might need to re-pair the key fob with your Tesla. While this is relatively rare, it’s a possibility, especially after a prolonged power outage or battery replacement.
The Tesla owner’s manual outlines the key fob pairing process. If you're having trouble, consult the manual or contact Tesla support for assistance. It's a good idea to test the fob's range as well, walking further away from the vehicle while pressing the buttons to ensure the signal is strong.
If it still doesn't work
Even with careful attention to detail, you might encounter some issues during or after the battery replacement process. If the fob still doesn’t work after replacing the battery, the first step is to double-check the battery polarity and ensure it’s making good contact. A faulty battery is also a possibility, so try a different new battery.
If the fob case won’t close properly, carefully inspect the seam for any obstructions or misaligned parts. Make sure all internal components are correctly positioned. Avoid forcing the case closed, as this could cause damage. If the buttons are unresponsive, try cleaning the contact points with a cotton swab dipped in isopropyl alcohol. Let it dry completely before reassembling.
I'm not sure about specific Tesla diagnostic tools available for key fobs, but the Tesla owner's manual should offer troubleshooting steps for common issues. If you’ve tried these steps and are still experiencing problems, contacting Tesla support is the best course of action. They can provide specific guidance and potentially diagnose any underlying issues.


No comments yet. Be the first to share your thoughts!