
Identify your GEM battery type
Before purchasing replacements, determine whether your Global Electric Motorcars (GEM) vehicle uses a traditional lead-acid bank or a modern lithium-ion pack. This distinction dictates the entire replacement path, as the two systems differ significantly in weight, voltage architecture, and maintenance requirements.
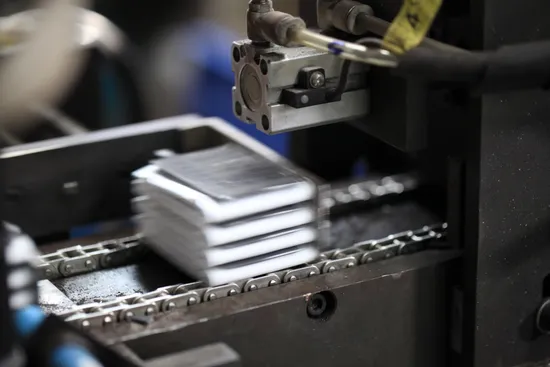
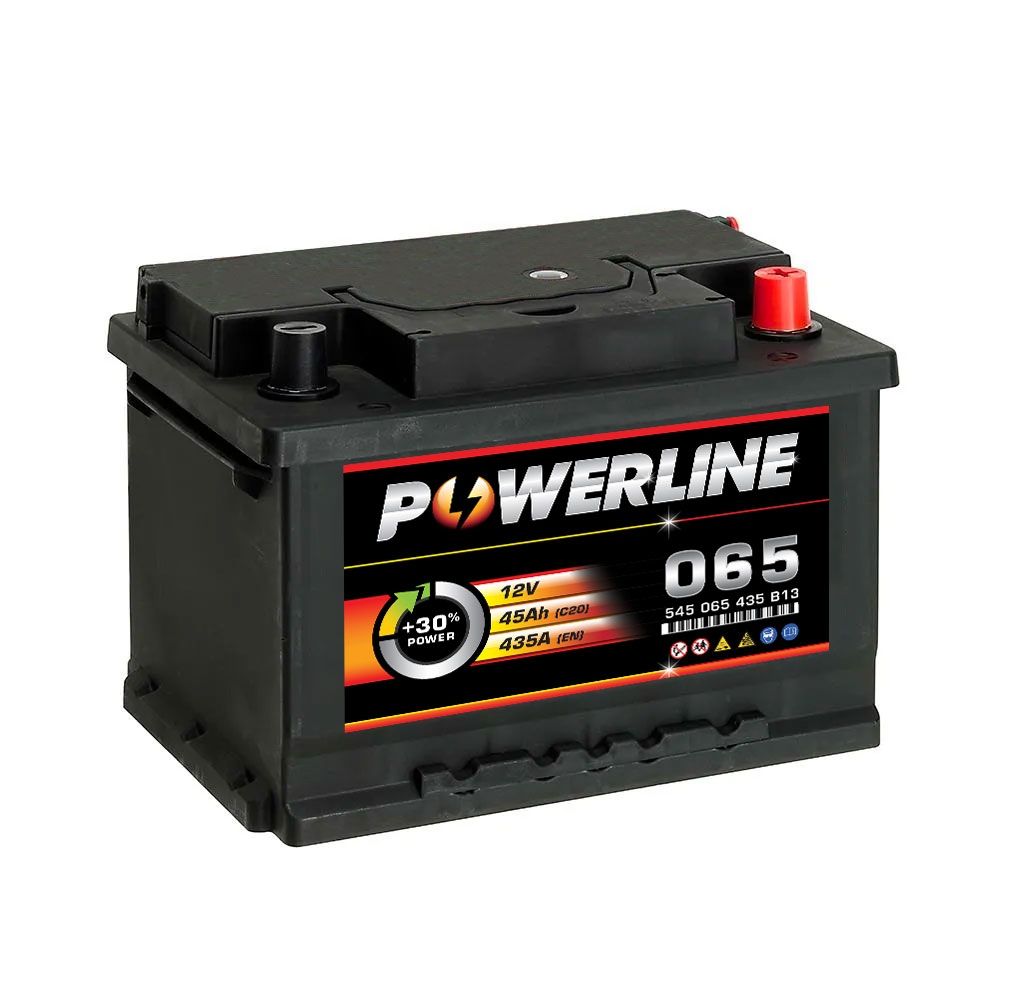
Most older GEM models, such as the E6 and E11, rely on a series of 6-volt or 12-volt lead-acid batteries. These heavy units require regular watering and equalization charges. In contrast, newer models or retrofitted systems often use a single 72-volt lithium-ion battery. Lithium packs are lighter, require no maintenance, and offer significantly longer lifespans, but they demand specific charging protocols to avoid damage.
To confirm your battery type, inspect the battery compartment. Lead-acid batteries are bulky, heavy, and often have visible terminals and vent caps. Lithium packs are typically contained in a single, sleek, sealed casing with a BMS (Battery Management System) port. If you are unsure, check your vehicle’s manual or look for a manufacturer sticker near the battery tray.
| Feature | Lead-Acid | Lithium-Ion |
|---|---|---|
| Typical Voltage | 6V or 12V (Series Bank) | 72V (Single Pack) |
| Weight | Heavy (40-50 lbs each) | Lightweight (20-30 lbs total) |
| Lifespan | 3-5 Years | 10+ Years |
| Maintenance | Watering & Equalization | Zero Maintenance |
| Cost | $300-$600 per set | $1,500-$2,500+ |
Remove the old battery pack
Before installing your new GEM Car batteries, safely disconnect and remove the existing bank. This process requires caution because older lead-acid banks are heavy, and the 72-volt system (typically six 12V or twelve 6V batteries) carries enough current to cause severe sparks or short circuits if handled incorrectly.
Start by ensuring the GEM Car is parked on a level surface, the ignition is off, and the key is removed. If your vehicle has a battery disconnect switch, turn it to the "off" position. This cuts power to the controller and reduces the risk of accidental arcing while you work.
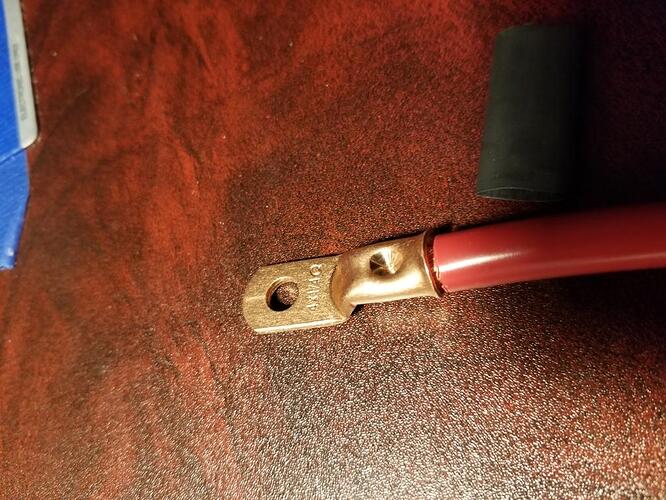
Always disconnect the negative (black) terminal first. This isolates the vehicle chassis from the electrical system, preventing accidental grounding if your wrench touches metal while loosening the positive cable. Once the negative side is clear, remove the positive (red) terminal.
For lead-acid banks, you will likely be removing a series of individual batteries connected by thick cables or straps. Label each cable or take a photo before disconnecting to ensure you can reconnect them in the correct series order later. Lithium packs often use a single main connector and a separate communication plug; these are simpler to remove but require gentle handling to avoid damaging the pins.
Lift the old batteries out carefully. Lead-acid batteries can weigh 30-40 pounds each, so use proper lifting techniques to avoid back strain. Place them on a stable, non-conductive surface away from the vehicle.
Park the GEM Car on a flat surface and turn the ignition off. Remove the key and engage the parking brake. If your model has a master battery disconnect switch, turn it to the "off" position to cut power to the controller and reduce electrical load.
Using the correct size wrench, loosen the nut on the negative (black) battery terminal. Remove the cable and tuck it away from the terminal to prevent accidental contact. Disconnecting negative first is critical because it isolates the vehicle's metal frame from the electrical system, preventing shorts if your tool touches any grounded metal.
Once the negative side is secure, loosen and remove the positive (red) terminal cable. For lead-acid banks, this may involve disconnecting a series of inter-battery cables. Label each cable or take a clear photo of the connections before removal to ensure accurate reconnection during the new battery installation.
Lift the old batteries out of the GEM Car's battery compartment. Lead-acid batteries are heavy; lift with your legs, not your back. If you have a lithium pack, unplug any communication or balance connectors carefully before lifting the unit. Place the old batteries on a stable, non-conductive surface for disposal or recycling.
Install the new battery bank
Replacing the battery bank in your GEM Car is the final step in upgrading from lead-acid to lithium. Whether you are installing a six-pack of 12V lithium modules or a single compact lithium pack, the physical installation requires careful handling. Lead-acid batteries are heavy and require lifting multiple units, while lithium packs are lighter but often larger in physical footprint. Always wear safety glasses and gloves when working with batteries to protect against acid spills or accidental short circuits.
Before you begin, ensure the GEM Car is parked on a level surface, the key is removed, and the main power disconnect (if equipped) is turned off. If your GEM uses a traditional lead-acid setup, you will likely need two people to lift the heavy battery trays out. For lithium replacements, verify that the new battery dimensions fit within the existing battery compartment without obstructing the chassis or wiring harness.
Start by disconnecting the negative (black) cables first, followed by the positive (red) cables. This order minimizes the risk of accidental shorting if your wrench touches the chassis while loosening a positive terminal. Remove all hold-down clamps and carefully lift the old lead-acid batteries out of the tray. If you are replacing a 72V system, you are removing six 12V batteries connected in series. Clean the battery tray with a baking soda and water solution to neutralize any acid residue before installing the new bank.
Place the new lithium battery modules into the tray. Unlike lead-acid batteries, lithium packs do not need to be vented, but they must be secured firmly to prevent movement during operation. If your lithium replacement is a single 72V unit, ensure it sits flat and does not interfere with the floor pan. If you are using individual 12V lithium modules, arrange them in the same series configuration as the original lead-acid bank. Ensure the battery management system (BMS) ports and connectors are accessible and not pinched by the hold-down clamps.
Connect the positive (red) terminals first. This is the reverse of the removal process and is critical for safety. Connect the positive terminal of the first module to the negative terminal of the second, continuing through the chain until you reach the final positive terminal of the bank. Tighten all connections securely using a torque wrench if specifications are available. Loose connections can cause arcing, heat buildup, and premature failure of the lithium cells. Double-check that no metal tools are touching the chassis while you work.
Finally, connect the negative (black) cables. Start with the negative terminal of the first module to the positive of the second, and so on, until you reach the main negative output of the battery bank. Connect the main negative cable to the vehicle’s chassis ground or negative bus bar. Install the hold-down clamps or straps to secure the batteries. Ensure the clamps are tight enough to prevent vibration but not so tight that they crush the battery cases, especially if they are lithium prismatic cells.
Before starting the GEM Car, use a multimeter to verify the total voltage across the main positive and negative terminals. For a 72V system, you should see approximately 72-84V depending on the state of charge. If the voltage is significantly lower, check for loose connections or reversed polarity. Once verified, reconnect the main power disconnect, insert the key, and test the vehicle’s operation. Monitor the dashboard for any error codes related to the battery system.
Test and verify power flow
Before you consider the replacement complete, confirm that the new battery bank communicates correctly with the GEM Car’s controller and that the vehicle is safe to operate. This verification step is critical because lead-acid and lithium systems behave differently under load.
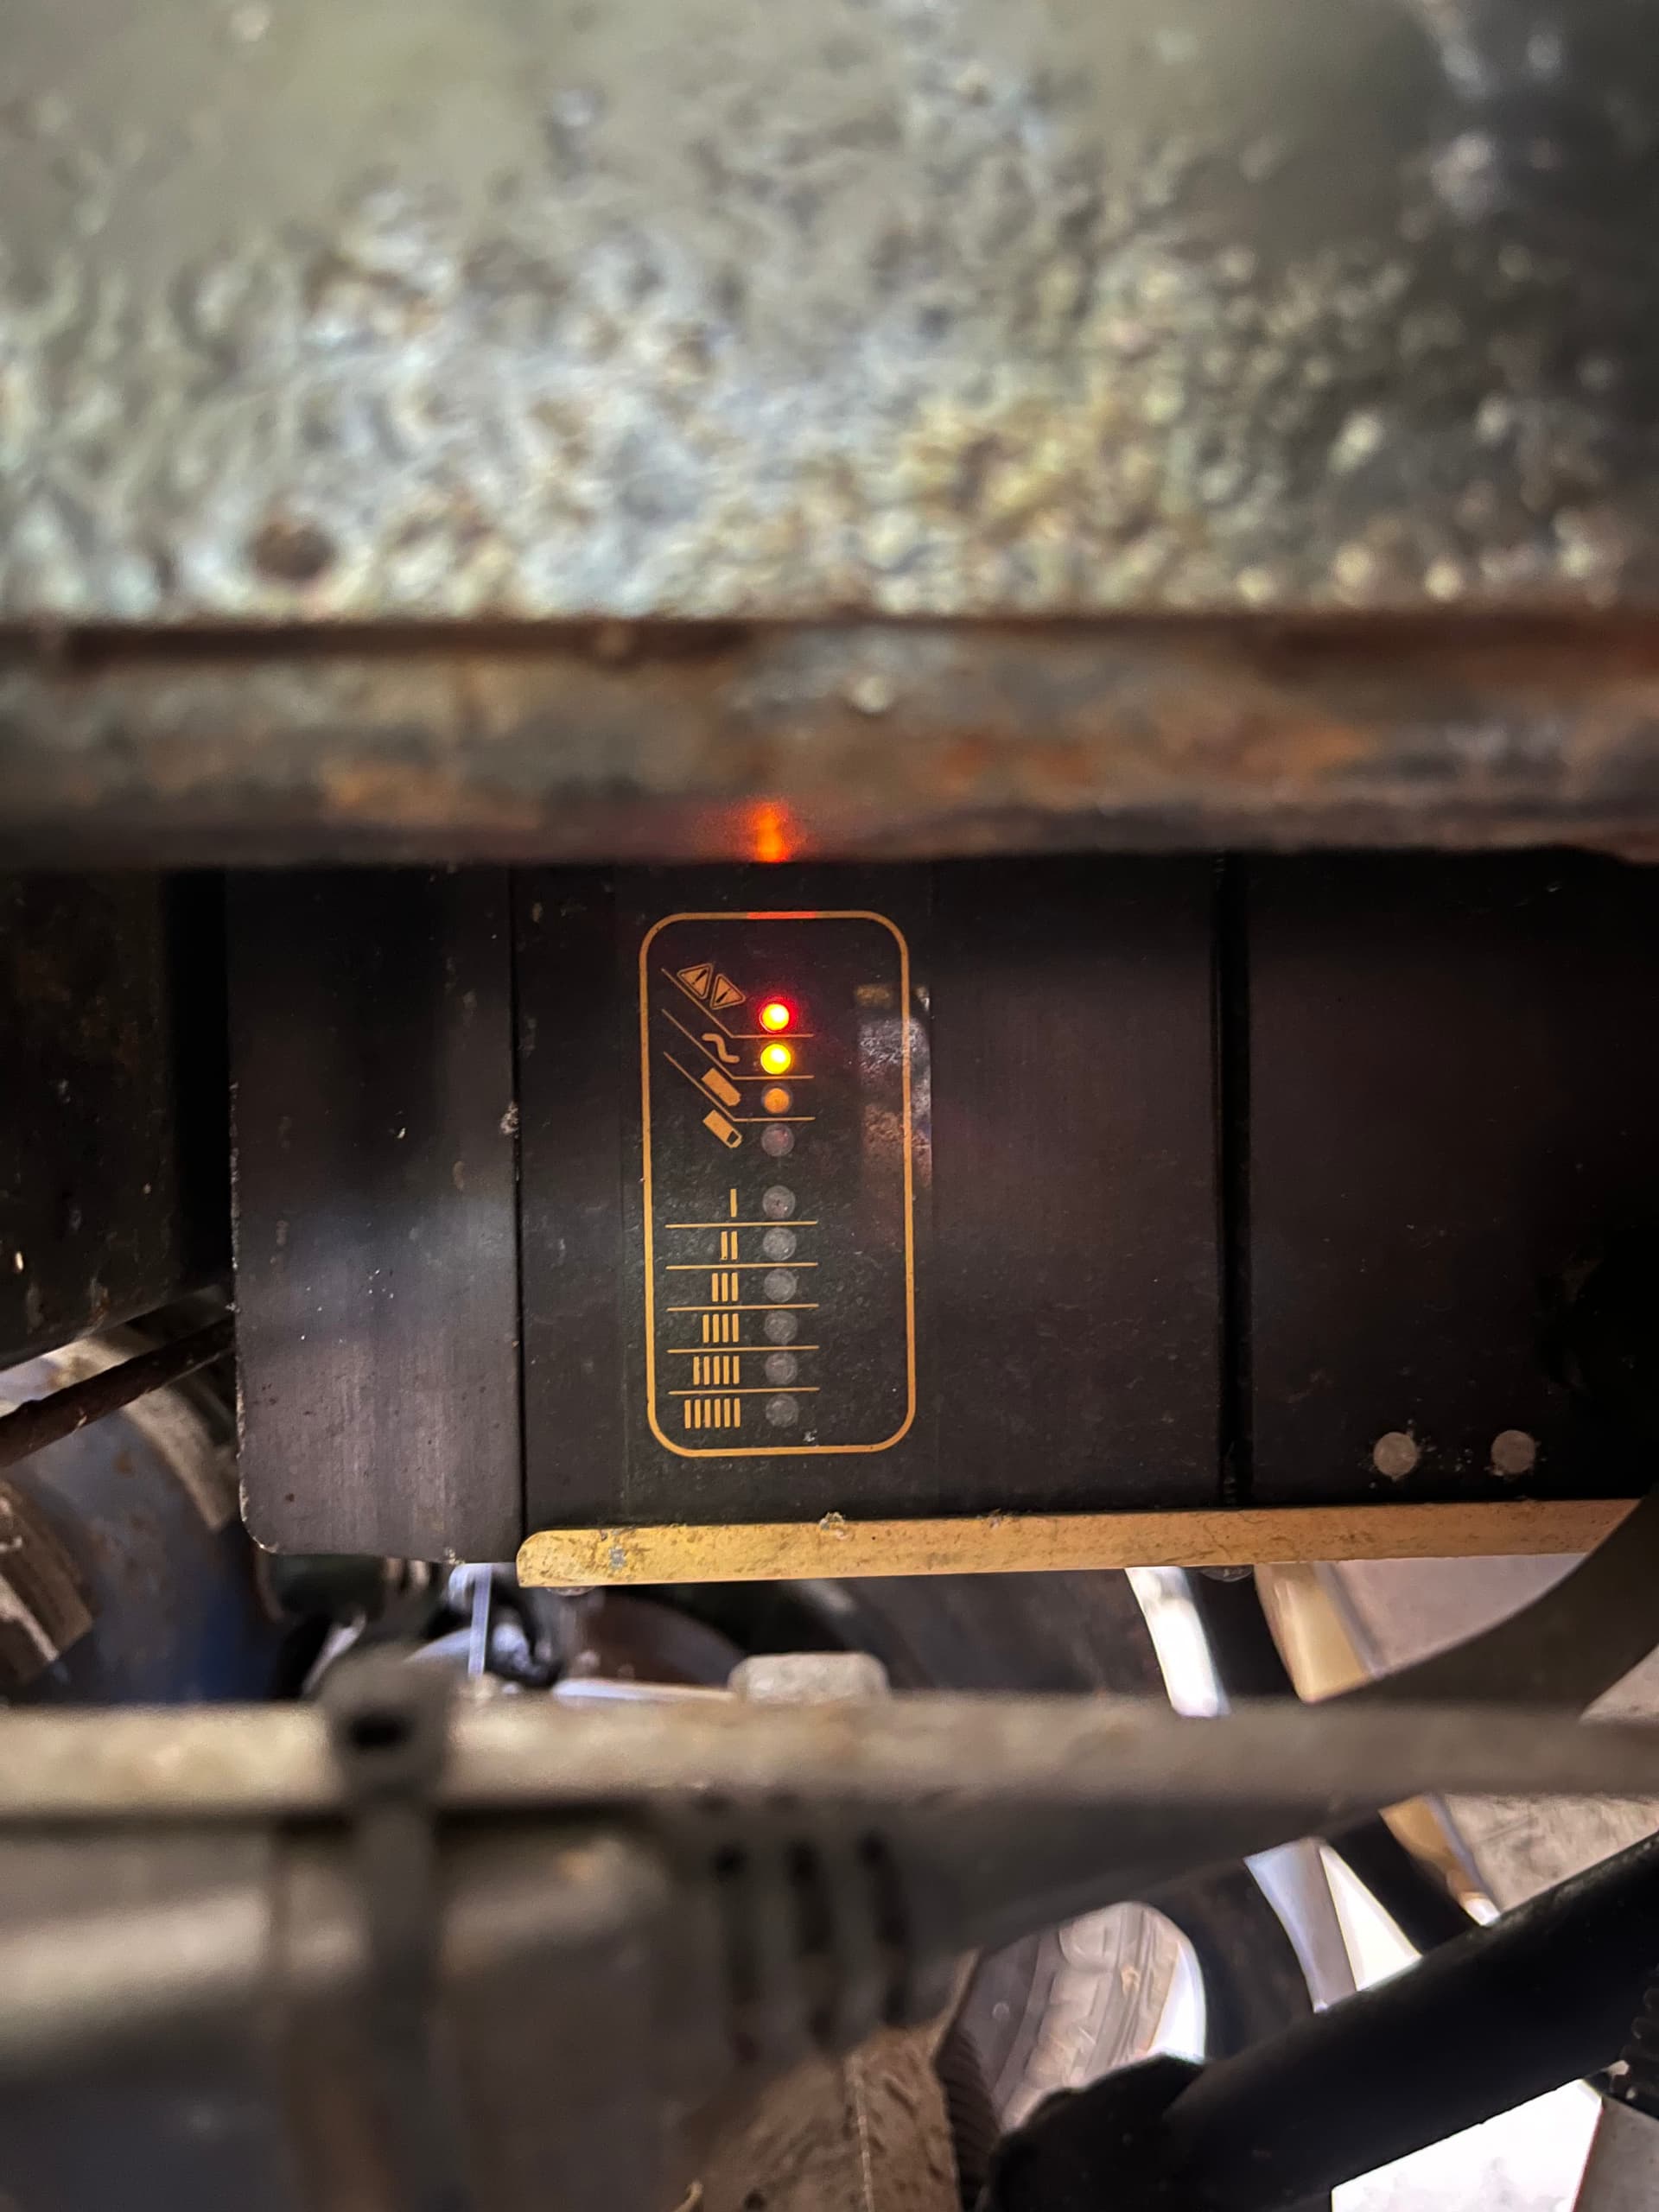
Turn the key to the "ON" position. Watch the dashboard gauges. If you installed a lithium pack, the BMS (Battery Management System) should wake up immediately. The voltage display should stabilize at the nominal level (e.g., 72V for a 6-battery lithium set, or 12V per lead-acid unit). If the dashboard remains dark, check your main fuse and ensure the negative terminal is securely connected.
With the vehicle in "Park," press the accelerator pedal gently. The voltage should not drop significantly. A healthy lead-acid bank might dip slightly but recover quickly. A lithium pack should show almost no voltage sag. If the voltage drops below 60V on a 72V system, or if the vehicle cuts power, you likely have a loose connection or a defective cell.
Drive the GEM Car forward and backward at low speeds in a safe, open area. Listen for unusual noises from the motor or battery mounts. Ensure the regenerative braking (if equipped) engages smoothly. This confirms that the controller is receiving consistent power from the new battery source.
If the vehicle behaves erratically, check the diagnostic port or dashboard for error codes. Lithium BMS units often display specific fault codes for over-temperature or cell imbalance. Consult your battery manufacturer’s guide to interpret these codes. Common issues include a tripped breaker or a disconnected communication wire between the BMS and the vehicle controller.
Once these steps are complete, your GEM Car is ready for regular use. Always perform a final visual inspection of the battery compartment to ensure no tools or debris were left inside.
Maintain your GEM battery life
Extending the life of your GEM battery requires a maintenance routine tailored to its chemistry. Whether you are managing a heavy lead-acid bank or a high-voltage lithium pack, consistent care prevents premature failure and keeps your vehicle reliable for years.
Lead-Acid Maintenance
Lead-acid batteries demand more hands-on attention. Keep the terminals clean and tight to prevent voltage drops. For flooded types, check electrolyte levels regularly and top up with distilled water only. Always wear gloves and eye protection when handling these heavy, acid-filled units.
Lithium Care
Lithium-ion packs are sealed and virtually maintenance-free. Their Battery Management System (BMS) handles balancing and temperature protection. The primary goal is to keep the pack dry and avoid deep discharges. Storing the GEM in a cool, dry place when not in use for extended periods helps preserve cell health.
Charging Best Practices
Use only the charger designed for your specific battery type. Overcharging or using mismatched chargers is the fastest way to damage any battery. For lithium packs, avoid leaving them plugged in for days after reaching full charge. For lead-acid, a periodic full charge cycle helps maintain capacity.
GEM battery replacement FAQs
When swapping out a battery bank, specific questions about compatibility and safety often arise. Here are the most common queries regarding GEM car batteries.
No comments yet. Be the first to share your thoughts!