

Identify your battery gem chemistry
When we talk about a "battery gem" in this context, we are referring to the power system inside a Global Electric Motorcars (GEM) vehicle, not jewelry or solar components. GEM vehicles typically run on 48-volt or 72-volt systems. Before you can extend the life of your battery gem, you must identify whether your vehicle uses traditional lead-acid batteries or modern lithium-ion packs. This distinction dictates every maintenance step you will take next.
Most older GEM models and many entry-level street-legal variants rely on a bank of six 8-volt lead-acid batteries wired in series. These are heavy, require regular water top-offs, and are sensitive to deep discharge cycles. If your vehicle charges slowly and the batteries feel hot to the touch, you likely have lead-acid chemistry. You can verify this by checking the weight of the individual battery units; lead-acid cells are significantly heavier than their lithium counterparts.
Newer GEM models, particularly those designed for commercial or government fleets, often come equipped with purpose-built lithium-ion battery solutions. These packs are lighter, charge faster, and generally require less hands-on maintenance. However, they are also more sensitive to extreme temperature fluctuations and require specific charging protocols to avoid cell imbalance. Knowing which system you have is the foundation for all future care.
| Feature | Lead-Acid (Traditional) | Lithium-Ion (Modern) |
|---|---|---|
| Voltage System | 48V / 72V (6x 8V or 8x 6V) | 48V / 72V (Integrated Pack) |
| Weight | Heavy (100+ lbs per set) | Light (30-50% lighter) |
| Maintenance | Regular water top-offs, terminal cleaning | Minimal; check connections only |
| Lifespan | 3-5 years with care | 8-10+ years |
Follow the charging sequence
Charging a GEM vehicle is not just about plugging in a cord; it is a controlled electrical procedure. Whether you are managing a 48V or 72V system, the order in which you connect and disconnect the charger directly impacts the lifespan of the lithium-ion cells. Skipping steps or reversing the sequence can cause voltage spikes that damage the battery management system (BMS) or the charger itself.
Think of the charging process like a handshake: you must establish the connection securely before sending power, and you must break the connection before removing the power source. This sequence ensures that the GEM’s onboard electronics remain stable during the high-draw charging phase.
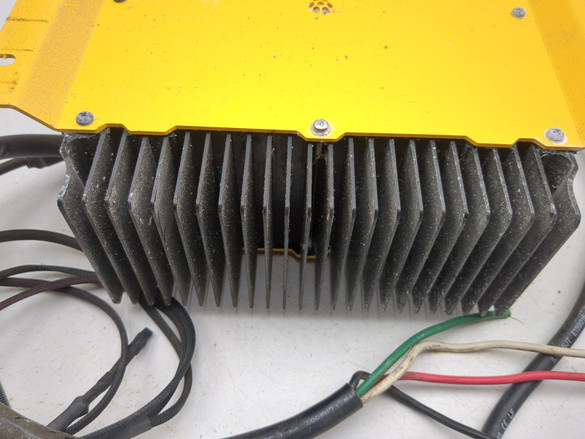
Before connecting anything, check the charger cable and the GEM’s charging port for debris, moisture, or bent pins. A dirty connection increases resistance, which generates heat and accelerates wear on the battery terminals. Ensure the GEM is parked on a level surface and the parking brake is engaged.
Plug the charger’s output end into the GEM’s charging port before plugging the charger into the wall outlet. This ensures that the GEM’s internal BMS is ready to receive the signal. For 72V systems, this step is critical to ensure the voltage levels are matched before power flows. You should hear a click or see a status LED on the charger confirm a solid connection.
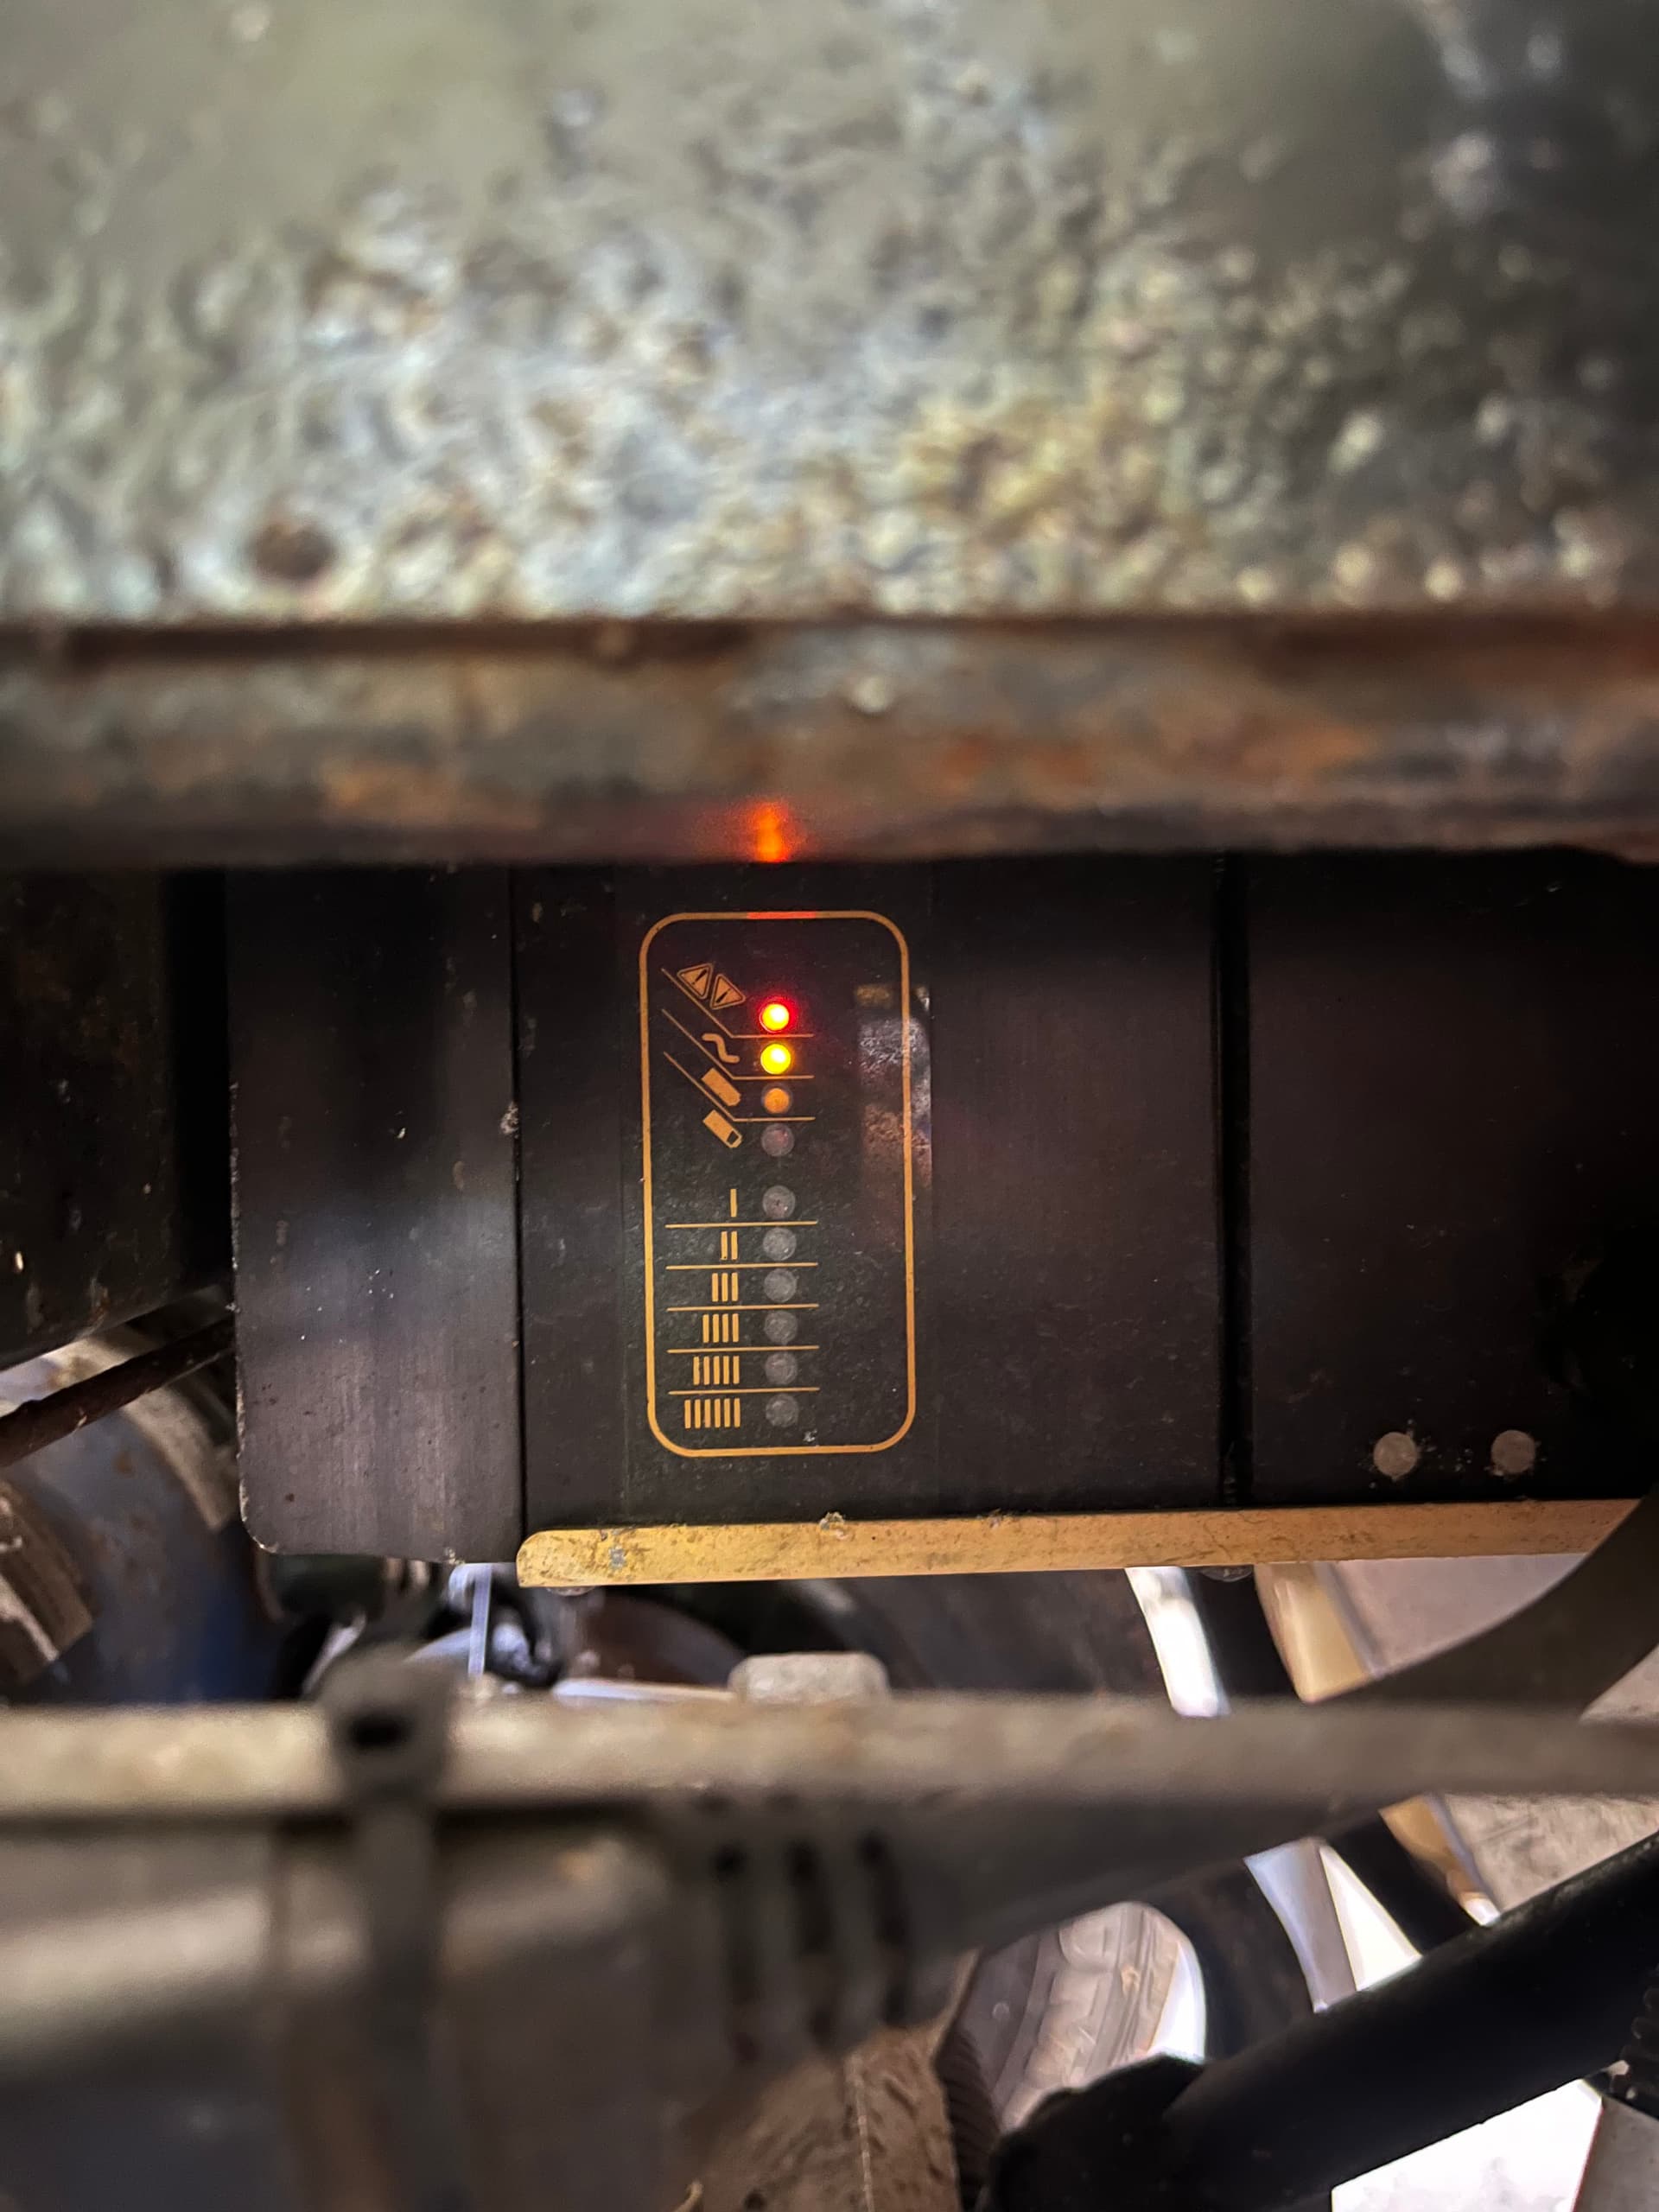
Once the charger is securely attached to the vehicle, plug the AC power cord into a grounded wall outlet. The charger’s indicator light will typically turn red, signaling that the charging cycle has begun. Do not attempt to use the GEM while it is charging, as this can interfere with the BMS readings and potentially cause a fault.
When the charger indicates a full charge (usually a green light), unplug the AC cord from the wall outlet first. This cuts the power source to the charger, stopping the flow of electricity before you disconnect it from the vehicle. This prevents any potential arcing or voltage spikes that could occur if you pulled the charger from the GEM while it was still energized.
Finally, unplug the charger from the GEM’s charging port. Wipe the connector dry if necessary and store it in a cool, dry place. Always replace the protective cap on the GEM’s charging port to keep out dust and moisture, which are the primary enemies of long-term battery health in low-speed EVs.
Avoid common charging mistakes
Your GEM’s battery life depends on how you treat it during charging and discharging. Many owners unknowingly shorten their pack’s lifespan by making simple errors. Avoid these pitfalls to keep your 48V or 72V system running strong.
Don’t Deep Discharge the Pack
Lithium batteries hate being drained completely. Discharging below 20% capacity causes internal stress that reduces total cycles. For a 48V system, this means avoiding drops below roughly 40V. For 72V systems, stay above 60V.
Warning: Over-discharging lithium packs below 20% can permanently damage the cells.
If your GEM shuts down early, recharge it immediately. Don’t wait until the next day. Leaving a depleted pack sitting for weeks can cause voltage to drop into the danger zone, triggering the Battery Management System (BMS) to lock the pack for safety.
Use the Correct Charger
Using the wrong charger is a fast track to battery failure. GEM vehicles typically use 48V or 72V lead-acid or lithium packs. A 72V charger on a 48V pack will overheat and damage it. Conversely, a 48V charger on a 72V system will never fully charge the battery.
Check your charger’s output voltage and amperage before plugging in. Lithium-specific chargers (LiFePO4) have different charge curves than lead-acid chargers. Mixing them up can cause uneven cell balancing or prevent the pack from reaching full capacity.
Avoid Partial Charging Myths
Unlike older nickel-cadmium batteries, lithium packs don’t need full discharge cycles. In fact, frequent deep cycles wear them out faster. Keep your charge between 20% and 80% for daily use. This range minimizes chemical stress and extends overall lifespan.
If you’re storing your GEM for winter, charge it to 50-60% and check the voltage every month. Lithium self-discharges slowly, so a top-off every few months keeps the cells healthy without overworking the BMS.
Check voltage and health regularly
Your GEM’s battery pack is the heart of the vehicle, and its health depends on consistent monitoring. Whether you drive a 48V or 72V model, the cells work together as a single system. If one cell drops in voltage, the entire pack slows down to protect itself. Catching these drops early prevents costly replacements and keeps your low-speed EV running smoothly.
Read the dashboard indicators
Most GEM models feature a battery meter on the dashboard. This gauge gives you a quick snapshot of your remaining charge, but it can be misleading. The gauge often stays full until the battery is nearly empty, then drops suddenly. Treat the dashboard as a rough guide, not a precise measurement. If you notice the range shrinking faster than usual, it is time to dig deeper.
Use a multimeter for accuracy
For a true health check, use a digital multimeter. This tool measures the actual voltage across the battery terminals, giving you data the dashboard cannot. A fully charged 48V lead-acid pack should read around 50.4V to 51.2V at rest. A 72V pack should sit between 75.6V and 76.8V. If your readings are significantly lower, the battery may be sulfated or failing.
Test individual cells
If the total pack voltage looks normal but performance is poor, test individual cells. Disconnect the battery pack and measure each 6V or 12V block separately. Healthy cells should all be within 0.05V of each other. A cell that reads significantly lower than the others is likely dead or severely sulfated. Replacing a single bad cell can sometimes restore the pack’s performance, but often the whole set needs replacement if one is failing.
Establish a routine
Make voltage checks part of your monthly maintenance. Check the voltage after the vehicle has been sitting for a few hours, not immediately after driving. This "resting voltage" gives a clearer picture of the battery’s true state. Regular checks help you spot trends before they become emergencies, extending the life of your GEM battery.
See the Battery Gem Installation
Watching a swap helps clarify the physical steps before you start. The Vatrer installation video shows the entire process for a 2017 GEM CAR, specifically focusing on the 48V system.
The clip walks through removing the old lead-acid batteries and wiring the new lithium pack. Seeing the connector types and mounting points in real time prevents confusion during the actual install.
Battery gem maintenance checklist
Keep your GEM running reliably with this routine. Whether you drive a 48V or 72V system, consistent care prevents unexpected breakdowns.
Monthly checks
- Inspect battery terminals for corrosion and clean with a baking soda solution.
- Verify voltage levels match your GEM model’s baseline (48V or 72V).
- Check that the battery case is free of cracks or leaks.
Annual service
- Test individual cell health with a professional load tester.
- Replace any battery older than five years or showing significant capacity loss.
- Update firmware on your GEM’s onboard computer if applicable.
Frequently asked questions about battery gems
Here are specific answers to common questions about GEM vehicle battery composition and safety, focusing on the 48V and 72V systems used in low-speed EVs.
No comments yet. Be the first to share your thoughts!